
Breeding birds is a deeply rewarding endeavor that combines the beauty of nature with the thrill of witnessing new life. However, it is not a hobby to be taken lightly. It requires patience, significant research, and a commitment to the well-being of both the parents and their offspring. Whether you are dreaming of a clutch of colorful budgies or the majestic arrival of parrot chicks, understanding the fundamentals is the difference between a tragic failure and a soaring success.
This guide breaks down the essential pillars of avian husbandry and breeding to help you navigate the journey from selecting your first pair to watching the fledglings take their first flight.
1. Species Selection
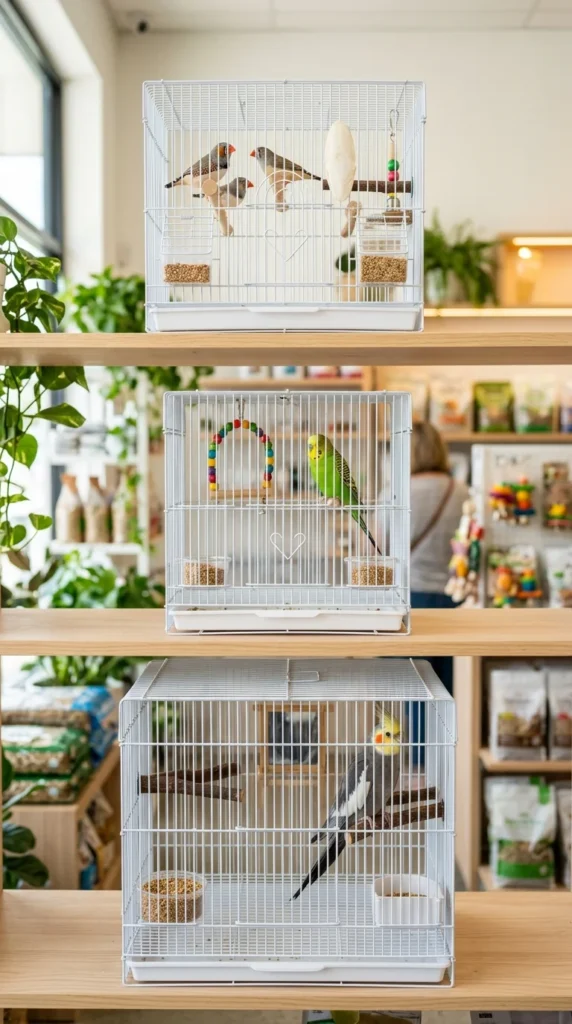
The first step in bird breeding is choosing the right species. For beginners, it is highly recommended to start with “easier” species such as Budgerigars (Budgies), Zebra Finches, or Cockatiels. These birds are generally hardier, have well-documented breeding behaviors, and are less demanding than larger parrots like Macaws or African Greys. Researching the specific needs of a species—such as their lifespan, noise level, and dietary requirements—is vital before making a commitment.
2. Healthy Pair
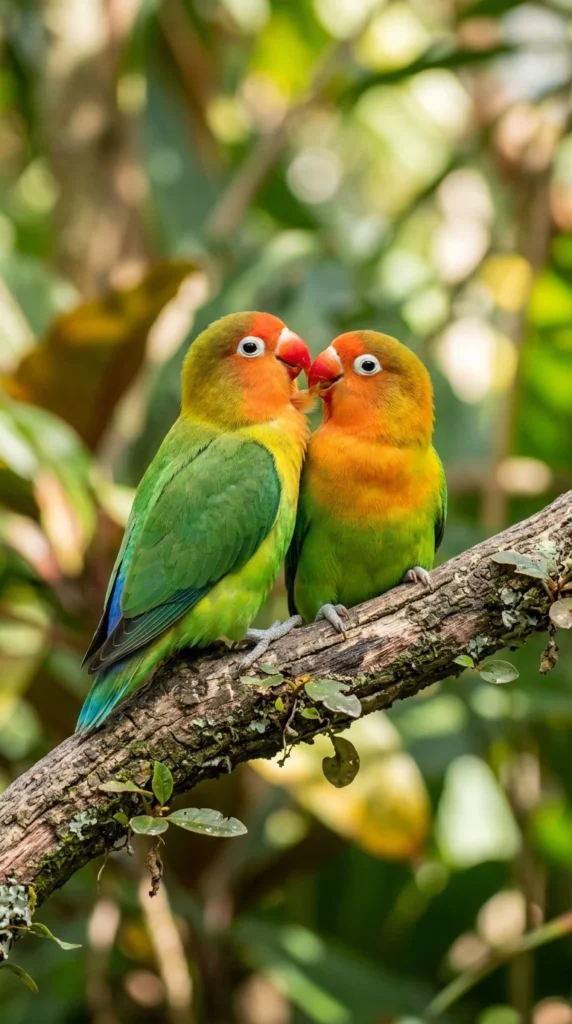
You cannot breed successfully without a healthy, genetically diverse pair. Avoid breeding birds that are closely related (inbreeding) as this leads to physical deformities and weakened immune systems. Ensure both birds are of breeding age; breeding birds too young can lead to “egg binding” in females, while birds that are too old may produce infertile eggs. A pre-breeding checkup by an avian veterinarian is always a wise investment to ensure neither bird is carrying latent diseases.
3. Proper Housing
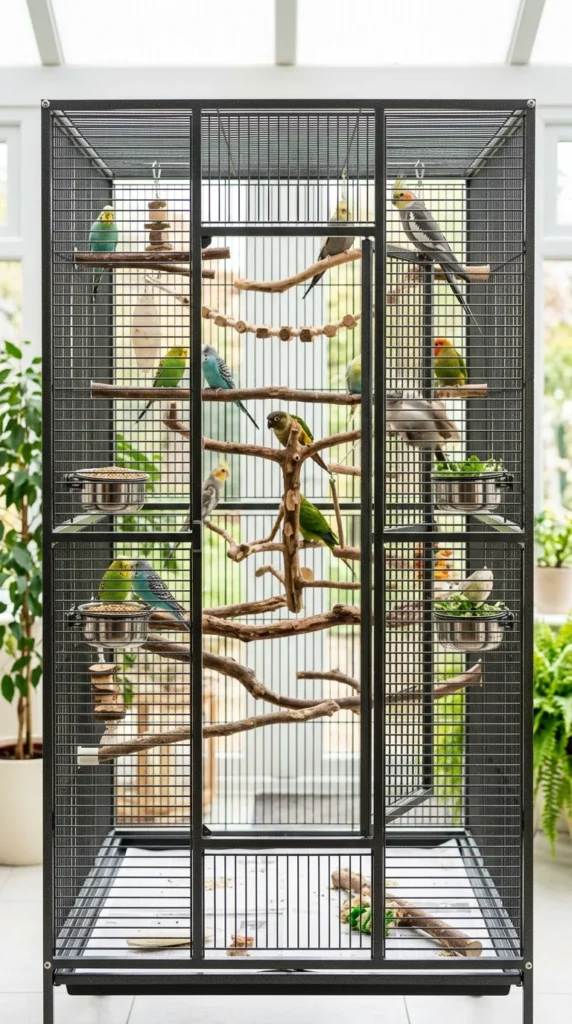
Space is a non-negotiable factor. Breeding birds need more space than a single pet bird. A cage that is too small can lead to stress, aggression between the pair, and even the destruction of eggs. The cage should be wide enough to allow for short flights and sturdy enough to support a heavy nest box. Location also matters; place the cage in a quiet, low-traffic area where the birds feel secure enough to focus on their parental duties.
4. Nest Boxes
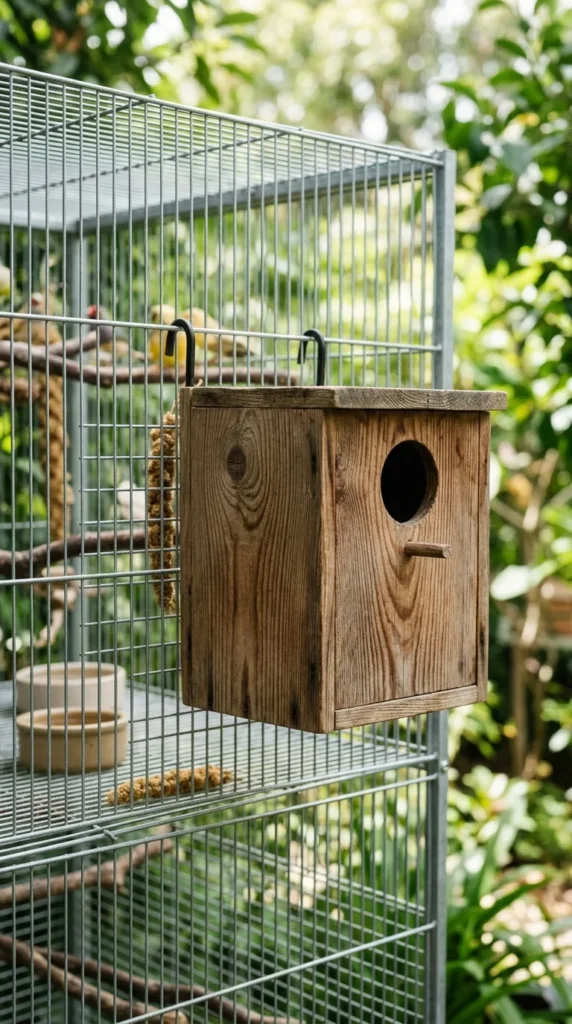
Birds require a “nursery,” and for most pet species, this means a nest box. The size and shape of the box depend entirely on the species. For example, budgies prefer vertical boxes, while some larger parrots require deeper, horizontal boxes. The box provides the darkness and security a female needs to stimulate her hormones for egg-laying. Ensure the box is easy for you to access for cleaning and monitoring without overly distressing the parents.
5. Nesting Material
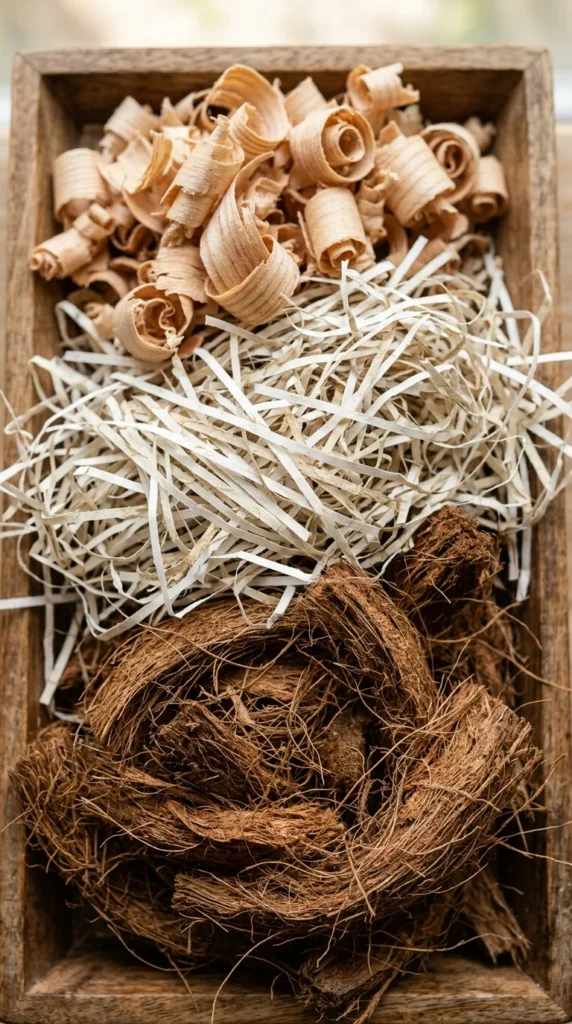
Providing the right substrate inside the nest box is crucial. Without it, eggs may roll around and crack, or the chicks may develop “splayed legs” because they cannot get a grip on a slippery wooden floor. Use bird-safe materials like pine shavings (not cedar), aspen bedding, or specialized coconut fibers. Avoid any materials with long strings or threads, as these can easily wrap around a bird’s leg or neck, leading to injury or death.
6. Balanced Diet

A bird’s nutritional needs skyrocket during the breeding season. A simple seed diet is insufficient. You must provide a variety of fresh vegetables, fruits, sprouted seeds, and high-quality pellets. The parents need extra energy to produce eggs and eventually feed their young. “Soft foods,” such as hard-boiled eggs (mashed with the shell) or specialized commercial egg foods, provide essential proteins and fats.
7. Calcium Intake
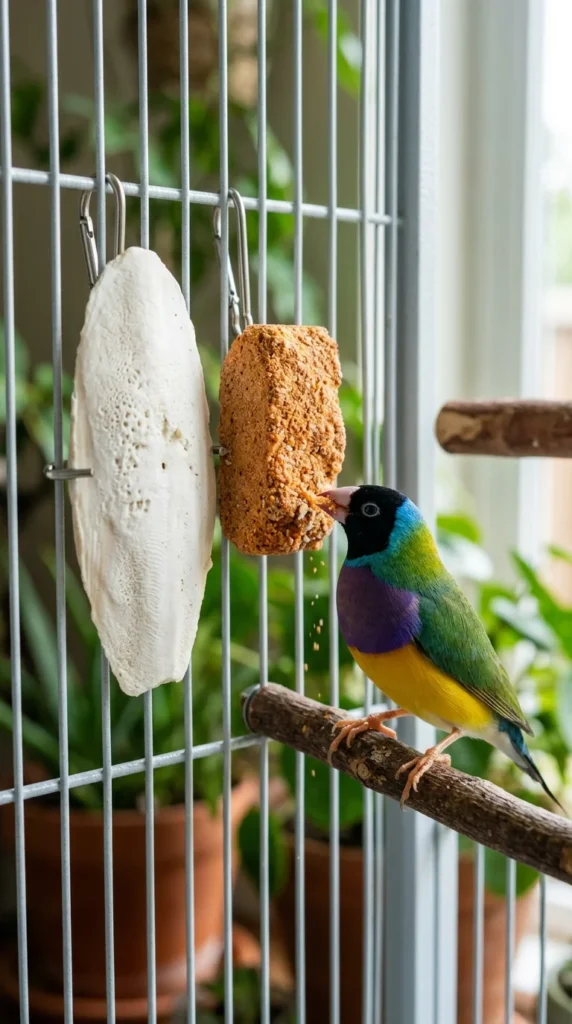
Calcium is the most critical mineral for a breeding female. It is used to create the eggshells and to support the female’s own bone density. A calcium deficiency can lead to “egg binding,” a life-threatening condition where the egg becomes stuck inside the bird. Always provide a cuttlebone, mineral blocks, or liquid calcium supplements in the water during the breeding cycle.
8. Lighting Needs
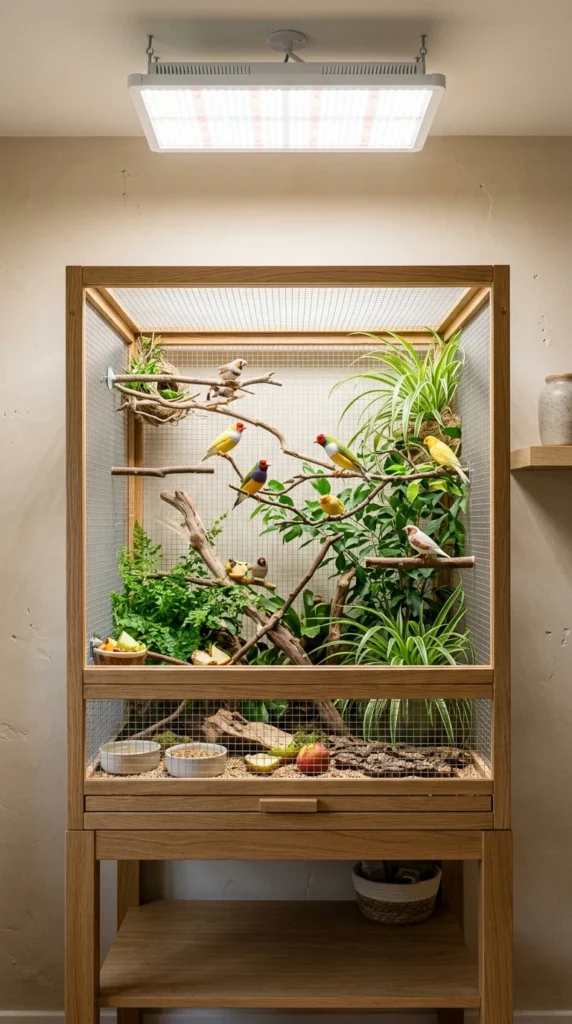
Birds are highly sensitive to “photoperiods,” or the amount of light they receive in a day. Increasing the hours of light to 12 or 14 hours a day simulates the arrival of spring and summer, which naturally triggers breeding hormones. Full-spectrum lighting is also essential for the synthesis of Vitamin D3, which helps the bird’s body absorb the calcium you are providing in their diet.
9. Humidity Control

Humidity is often overlooked by beginners but is vital for the developing embryo inside the egg. If the air is too dry, the egg membranes can become too tough, making it impossible for the chick to “zip” or break out of the shell during hatching. Conversely, too much humidity can lead to bacterial growth. Aim for a humidity level between 50% and 60% during the incubation period.
10. Courtship Behavior
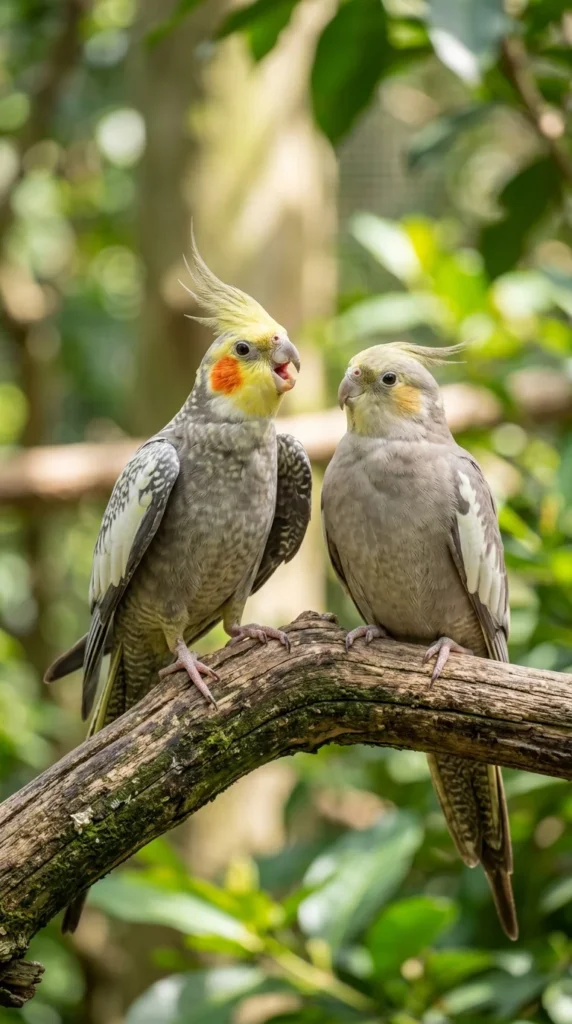
Before eggs appear, you will witness courtship. This can include “allofeeding” (where the male feeds the female), mutual preening, singing, and dancing. These behaviors indicate that the pair has bonded and is ready to mate. Observing these rituals is not only fascinating but also a sign that your environment is conducive to breeding. If you see aggression instead of courtship, you may need to separate the pair.
11. Egg Laying
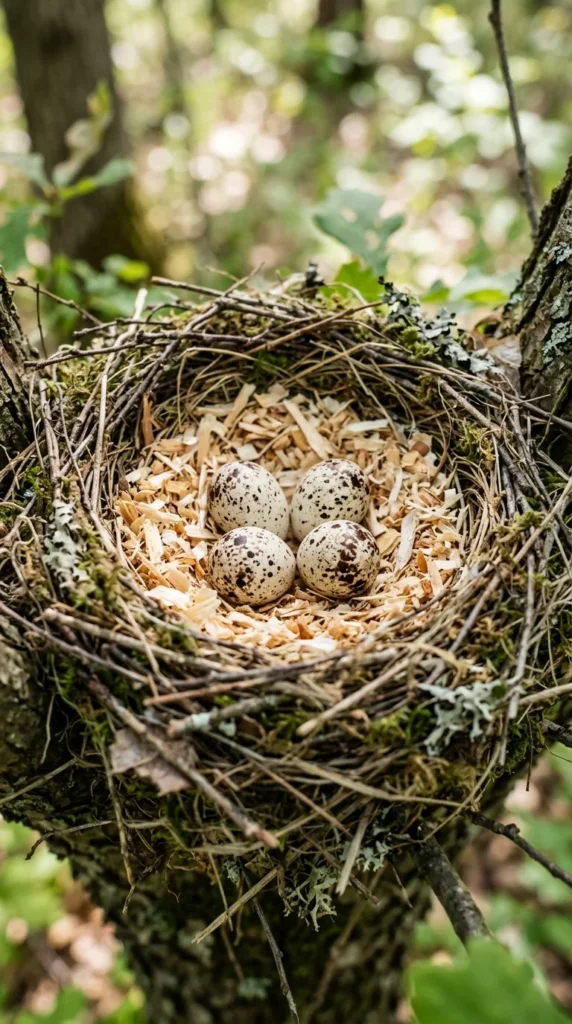
Once mating is successful, the female will begin to spend more time in the nest box. Most birds lay eggs every other day until the clutch is complete. A clutch can range from two to eight eggs depending on the species. It is important not to disturb the female too much during this time, as stress can cause her to abandon the nest or even break the eggs.
12. Incubation Period
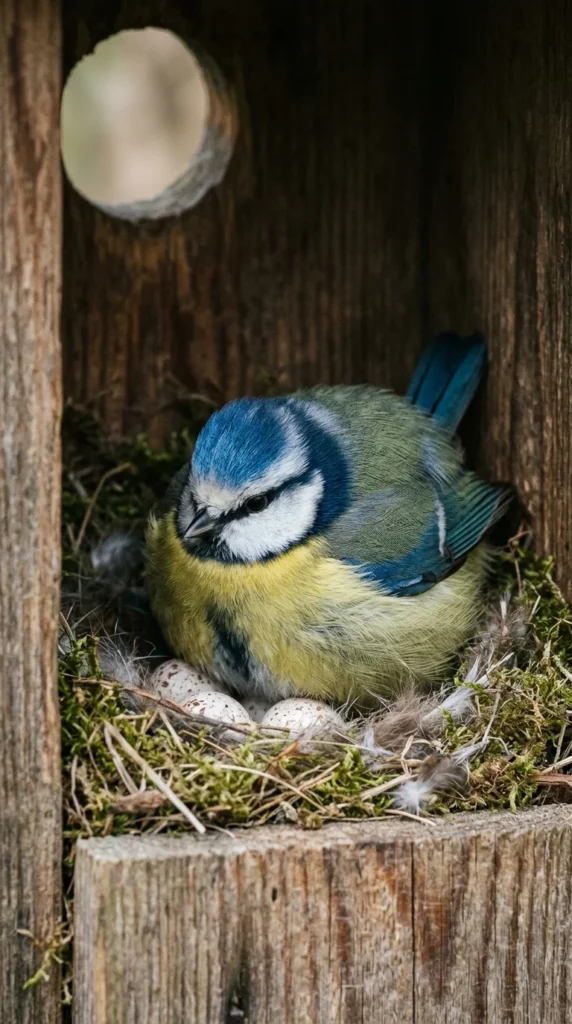
Incubation usually begins after the second or third egg is laid. This ensures that the chicks hatch relatively close to each other in age. The duration of incubation varies: budgies take about 18 days, while larger parrots can take up to 28 days. During this time, the male’s job is often to bring food to the female so she doesn’t have to leave the nest and let the eggs get cold.
13. Candling Eggs
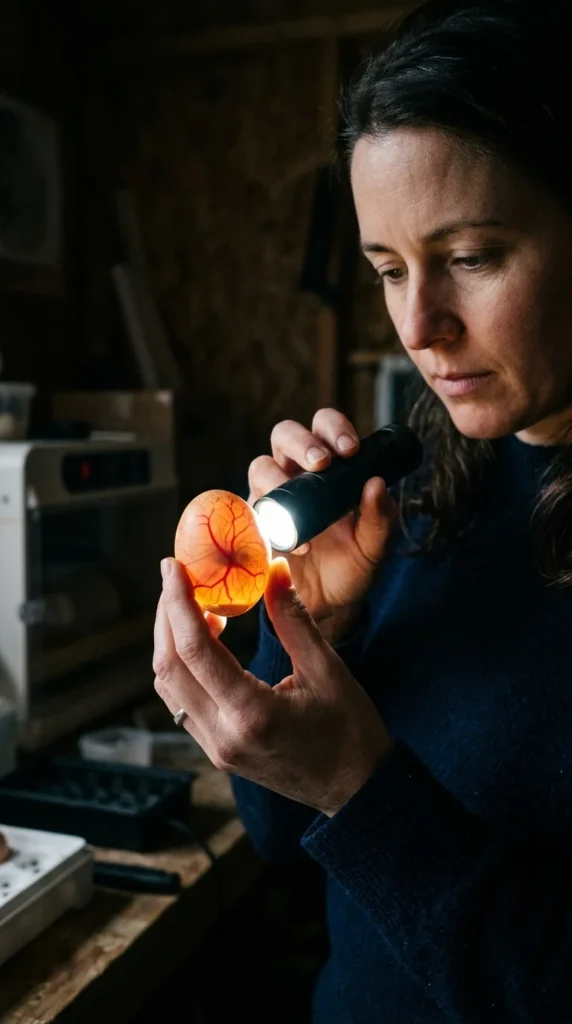
Candling is the process of shining a bright light through the egg to check for fertility. Around 5 to 7 days into incubation, you should see a “spider web” of red veins if the egg is fertile. If the egg remains clear, it is likely “clear” or infertile. Candling should be done quickly and with clean hands to avoid transferring oils or bacteria to the porous eggshell.
14. Hatching Process
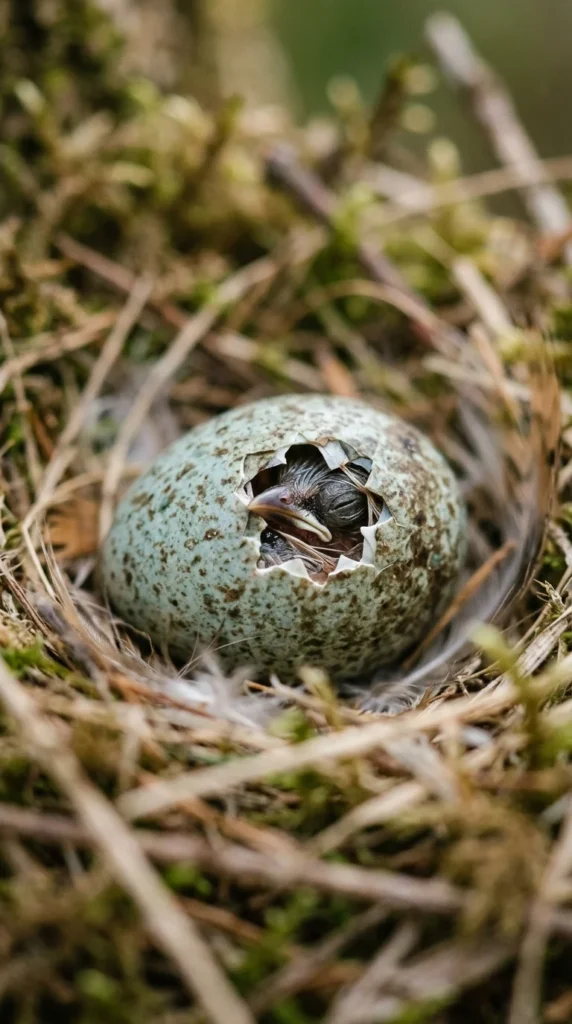
Hatching is an exhausting process for a chick and can take anywhere from a few hours to a full day. The chick uses a specialized “egg tooth” on its beak to break the shell. As a beginner, the hardest part is resisting the urge to help. Intervening too early can cause the chick to bleed to death if the blood vessels in the membrane haven’t receded. Only assist if the chick is clearly stuck for more than 24 hours.
15. Hand-Feeding
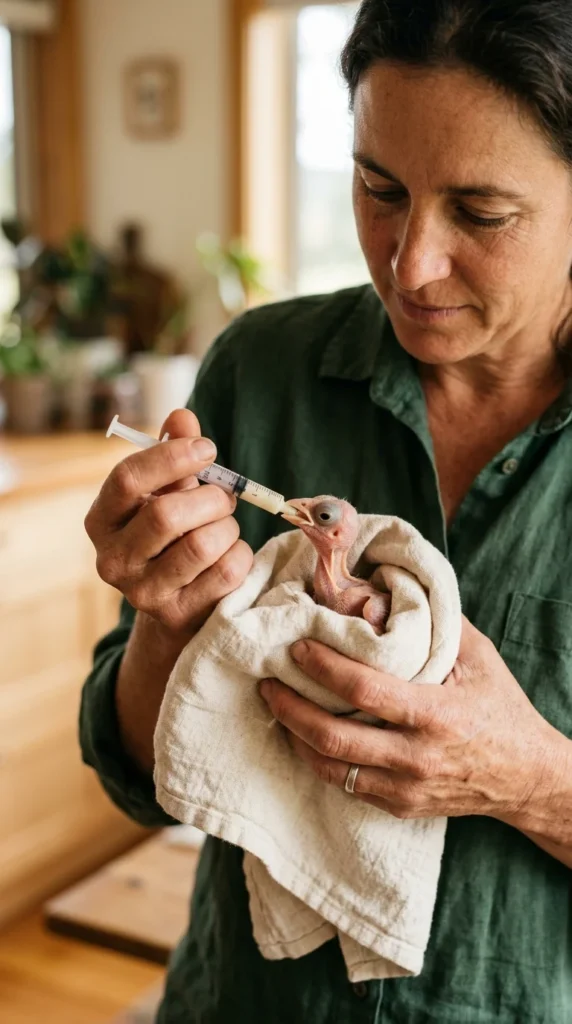
Some breeders choose to hand-feed chicks to make them more “tame” for future owners. However, hand-feeding is a 24/7 commitment and carries risks like “crop burn” or “aspiration pneumonia” if the formula is the wrong temperature or consistency. If you are a beginner, it is often safer to let the parents raise the chicks until they are partially feathered before you begin handling them for socialization.
16. Record Keeping
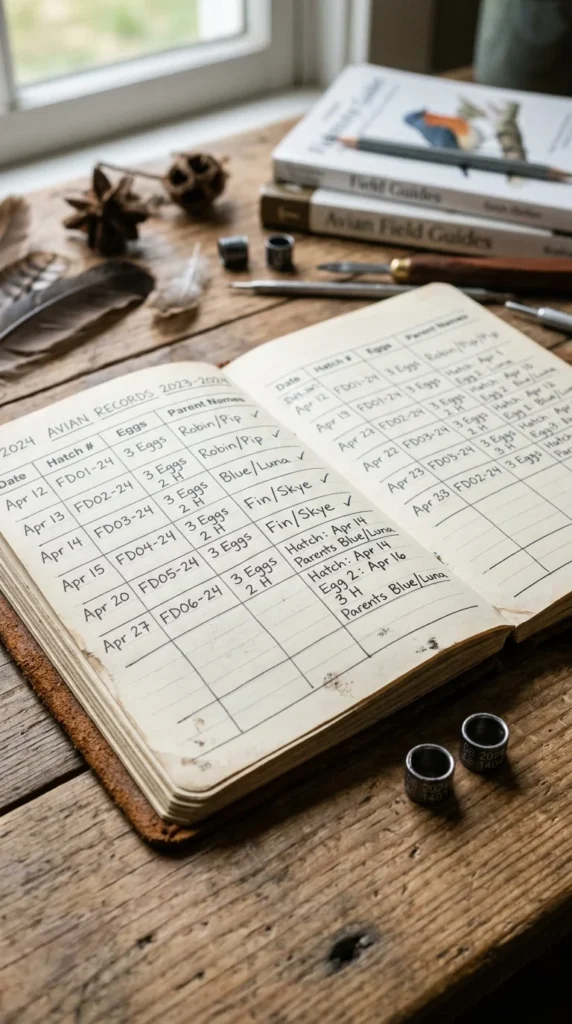
Successful breeding requires meticulous record-keeping. You should track the date each egg was laid, when it hatched, the parentage, and the growth rate of the chicks. This data is invaluable for identifying which pairs are your most successful and for ensuring that you do not accidentally breed siblings together in the future. Many breeders also use leg bands to identify individual birds.
17. Veterinary Care
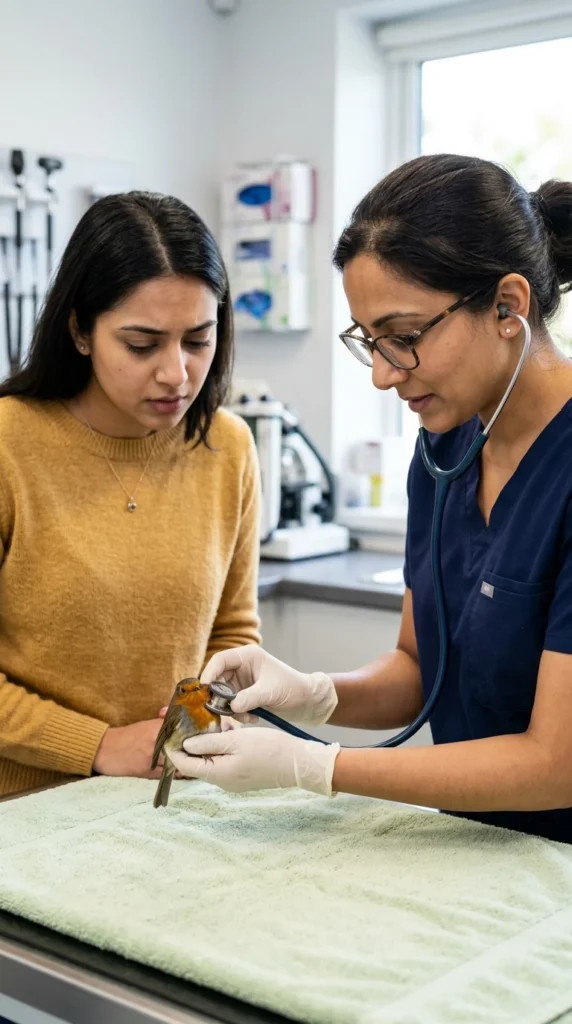
Always have an avian vet on speed dial. Breeding can go wrong quickly—from a female becoming egg-bound to a chick failing to thrive. A beginner must be prepared for the financial cost of emergency vet visits. Regular checkups for your breeding stock ensure that your “aviary” remains a healthy, disease-free environment for the next generation of birds to thrive.