
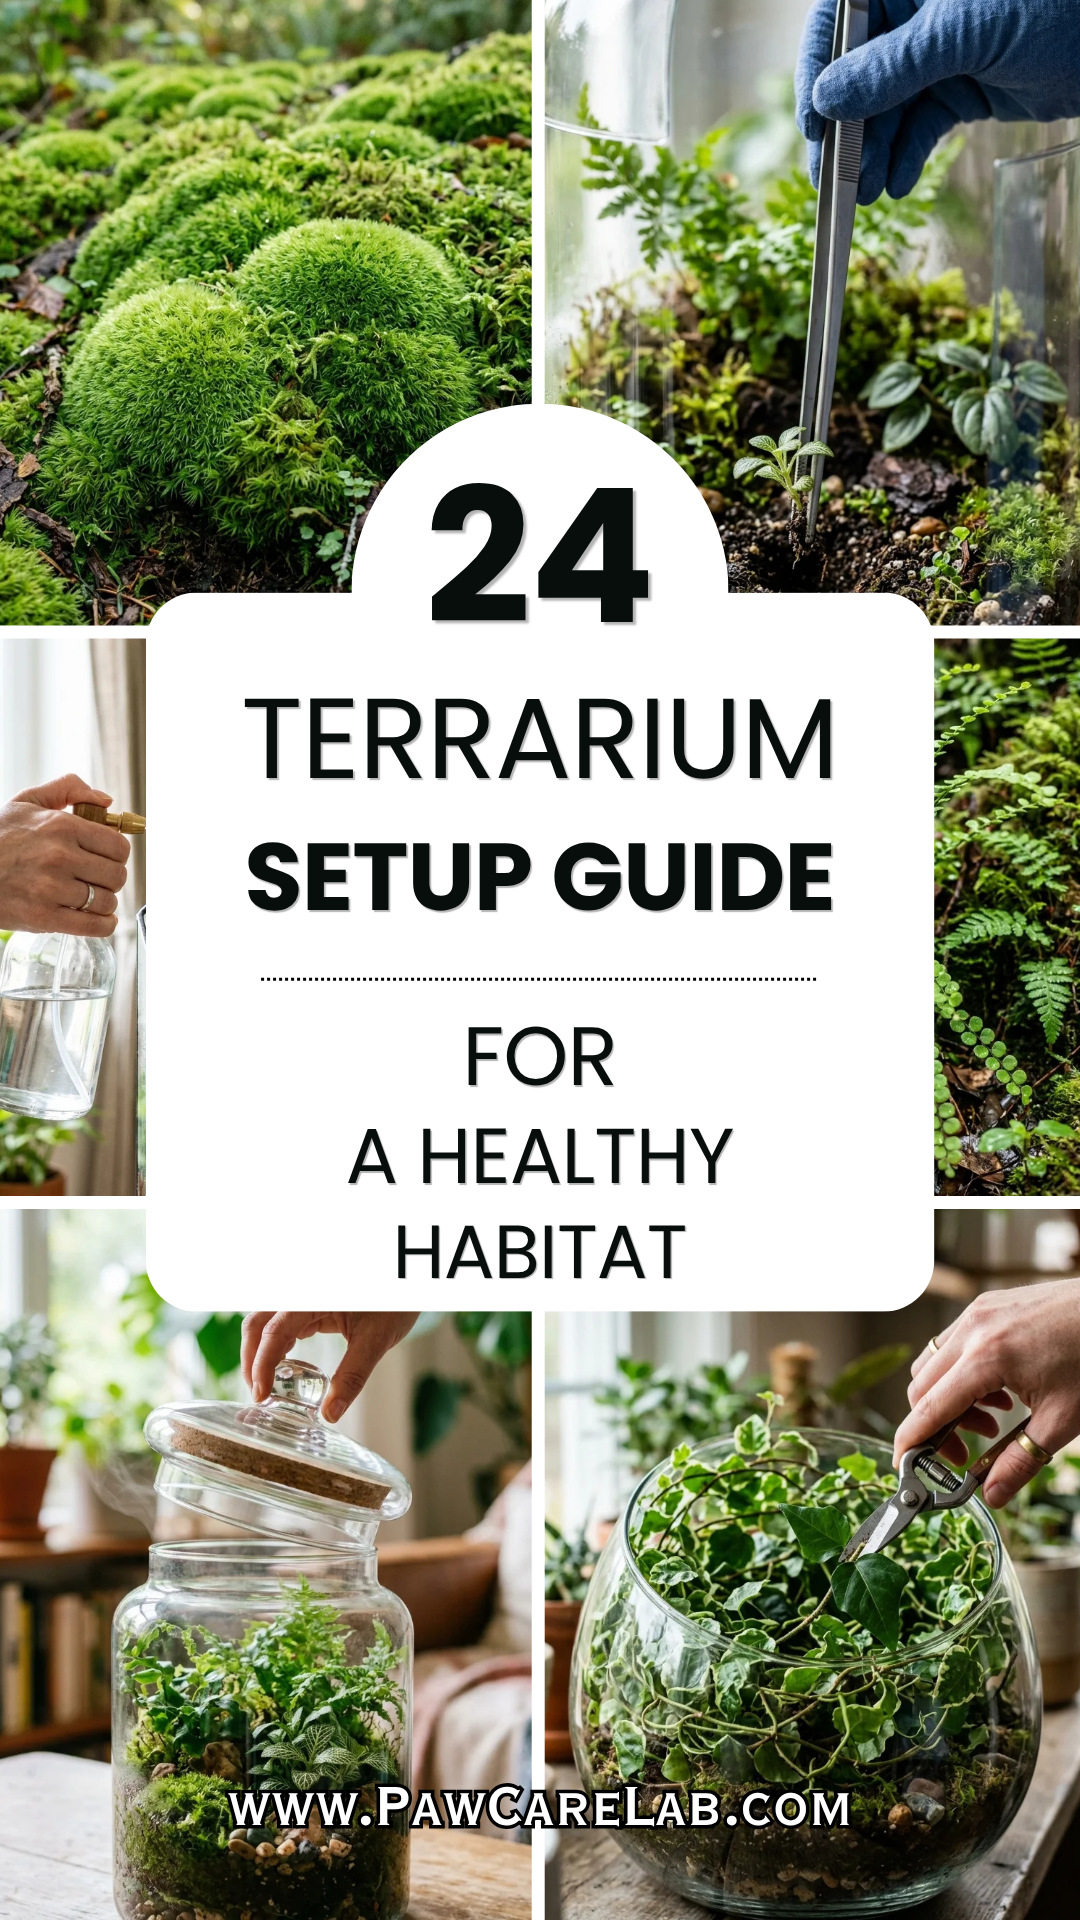
Creating a terrarium is like becoming the architect of a miniature world. It is a delicate balance of art, biology, and patience. Whether you are looking to bring a slice of the tropical rainforest into your apartment or want to cultivate a desert landscape in a glass bowl, understanding the mechanics of these self-contained ecosystems is vital. A successful terrarium isn’t just about placing plants in a jar; it’s about layering the right materials to ensure the cycle of life continues indefinitely.
In this comprehensive guide, we will walk through 24 essential steps and components to ensure your glass-bound garden thrives for years to come.
1. Glass Vessel
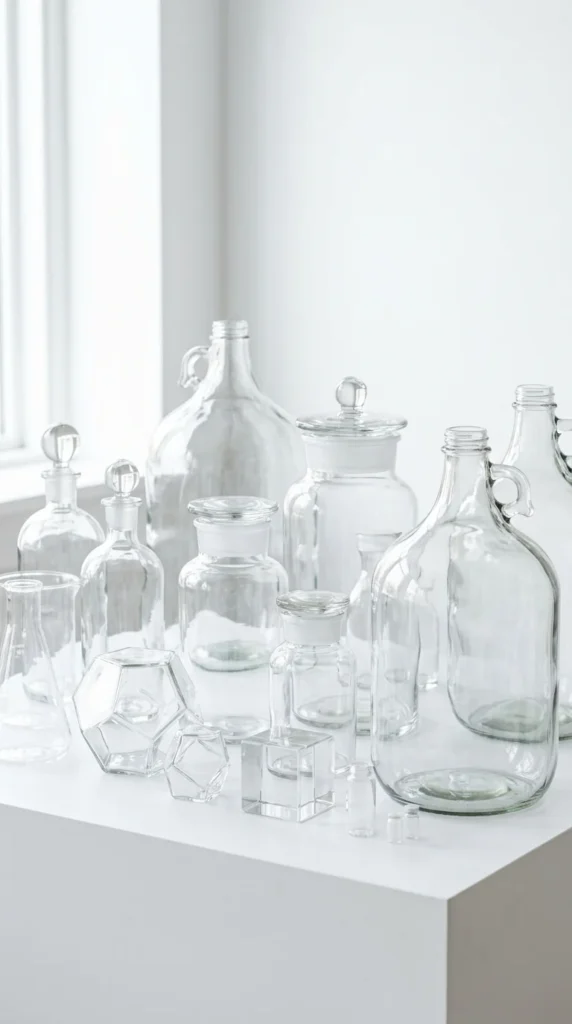
The foundation of every terrarium is the container. You must choose between a closed or open vessel. Closed containers are ideal for moisture-loving plants like ferns and mosses because they create their own rain cycle. Open containers are better suited for succulents and cacti that require high airflow and low humidity. Ensure the glass is clear rather than tinted to allow maximum light penetration for photosynthesis.
2. Drainage Layer
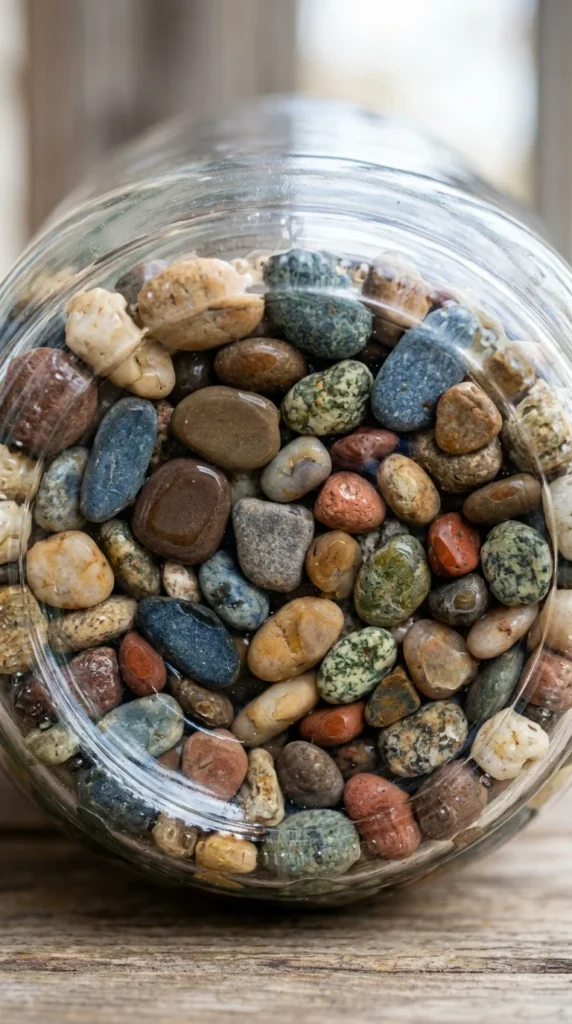
Since terrariums do not have drainage holes at the bottom, a “false bottom” is mandatory. This layer usually consists of pebbles, gravel, or expanded clay pebbles (LECA). Its purpose is to collect excess water that seeps through the soil, preventing the roots of your plants from sitting in stagnant water, which leads to root rot.
3. Mesh Barrier
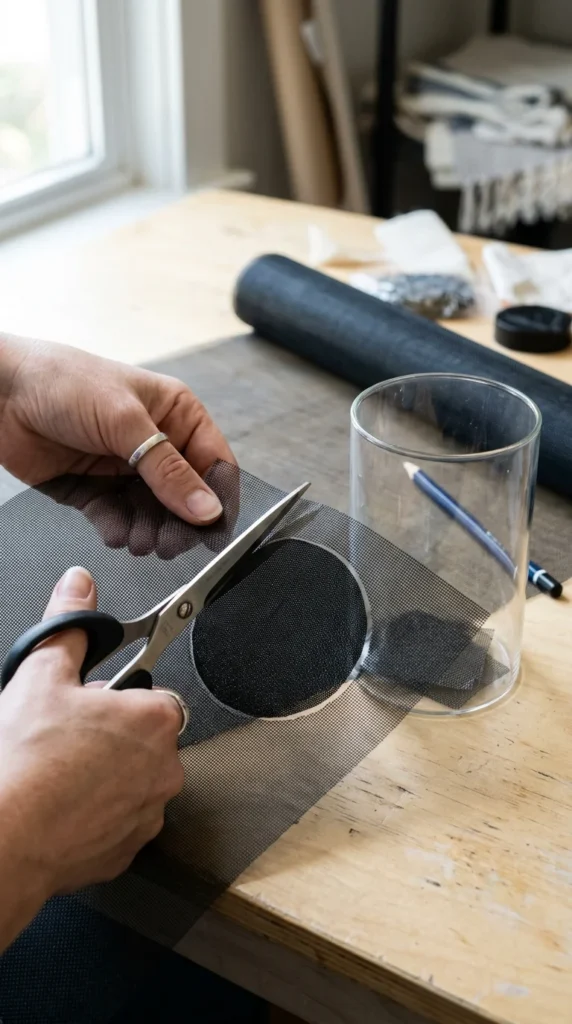
To keep your ecosystem clean, you need a physical barrier between the drainage stones and the soil. A piece of fine plastic mesh, fiberglass screening, or even a layer of dried sphagnum moss works perfectly. This prevents the fine particles of soil from washing down into the rocks, which would clog the drainage layer and turn the bottom of your terrarium into a muddy mess.
4. Activated Charcoal
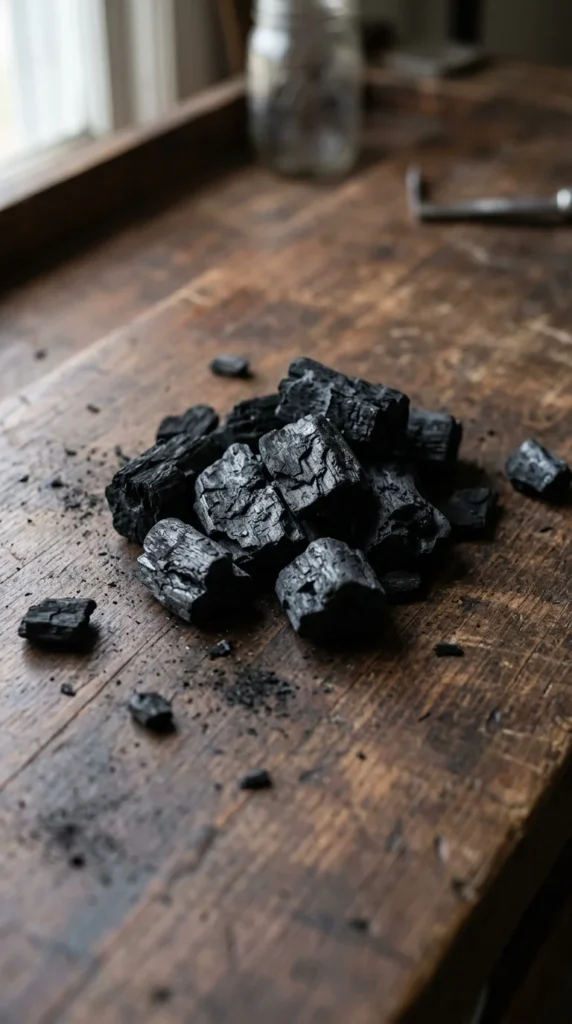
Activated charcoal is the “filter” of your terrarium. A thin layer spread over the drainage mesh helps to remove toxins, chemicals, and odors from the water and soil. In a closed environment, gases can build up; charcoal neutralizes these impurities, keeping the air and water fresh for the plants and preventing the growth of mold and mildew.
5. Substrate Selection
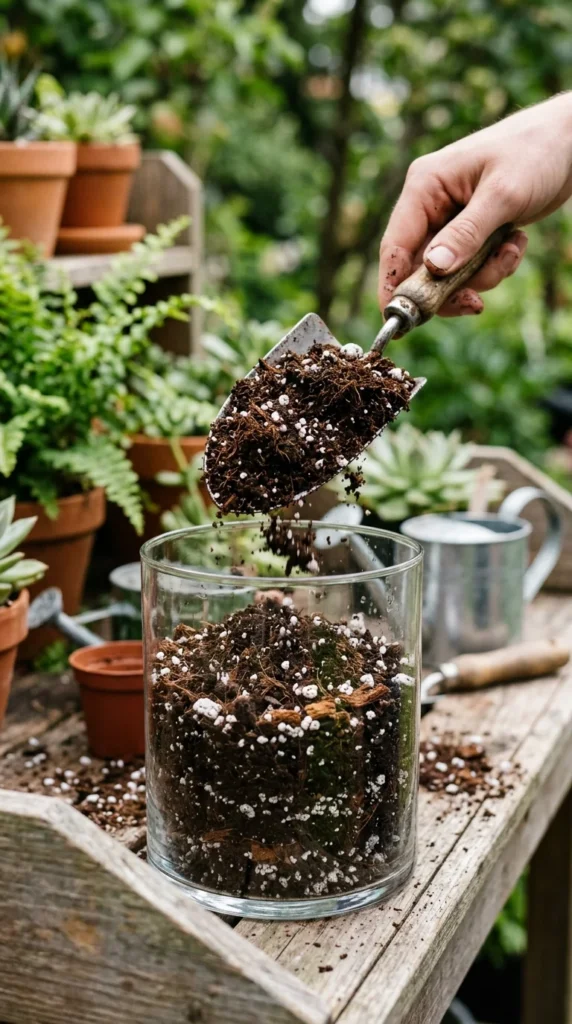
Not all dirt is created equal. For a terrarium, you need a high-quality, sterile potting mix. Tropical terrariums benefit from a mix containing peat moss, coco coir, and perlite to retain some moisture while remaining airy. For desert setups, use a sandy, gritty cactus mix that allows water to pass through rapidly.
6. Hardscape Elements
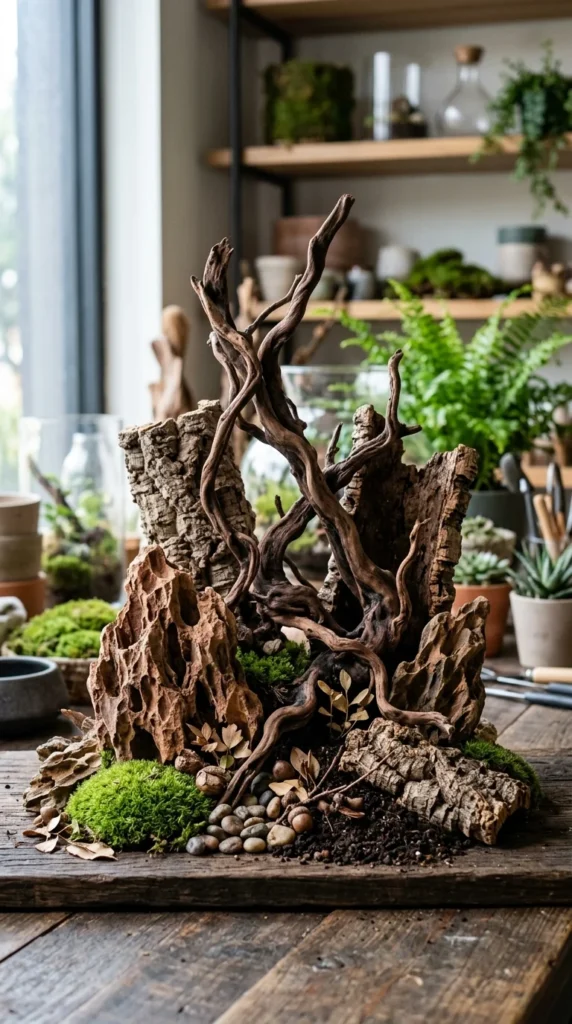
Before adding plants, define the “bones” of your landscape. Hardscaping involves placing rocks, wood, or bark to create levels and visual interest. Using large stones or pieces of driftwood can simulate a mountain range or a fallen forest giant. This gives the eye a focal point and provides different micro-climates for your plants.
7. Fern Selection
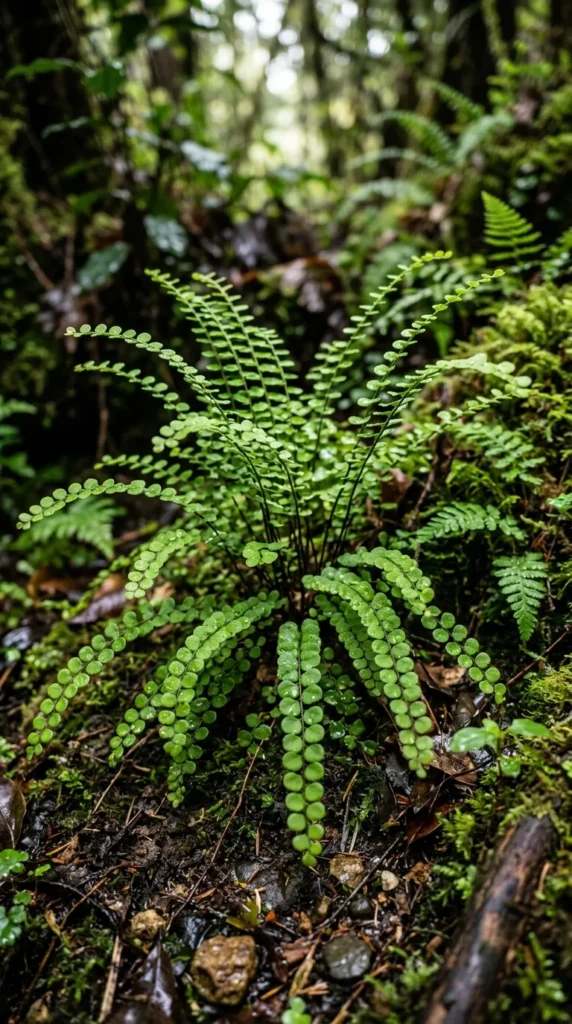
Ferns are the royalty of the closed terrarium. Varieties like the Maidenhair, Button Fern, or Asparagus Fern thrive in the humid, low-light conditions found inside a glass jar. They provide height and a soft, feathery texture that fills the space beautifully.
8. Tropical Foliage
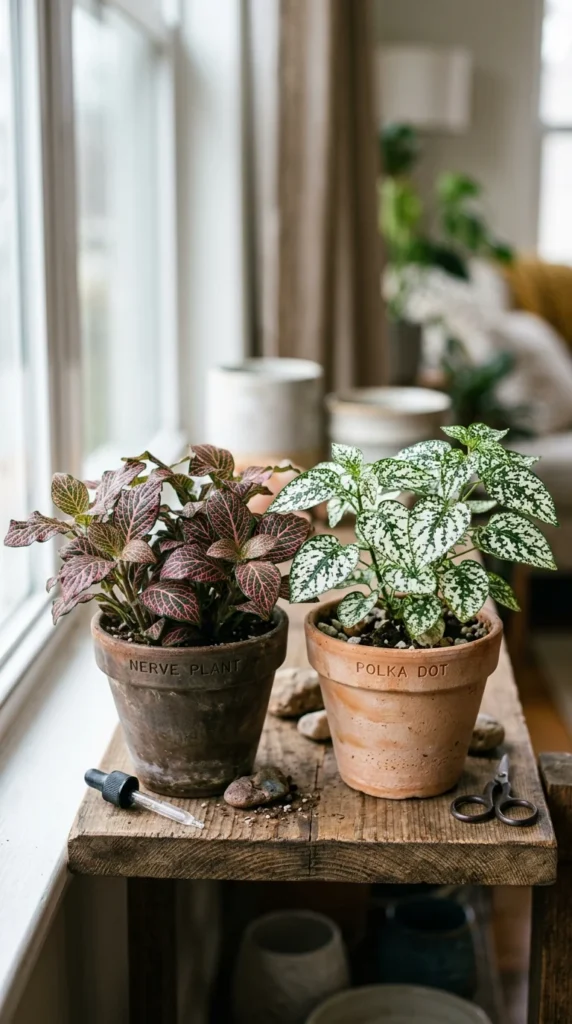
Plants like Fittonia (Nerve Plant) and Hypoestes (Polka Dot Plant) are perfect for adding pops of color. These plants love high humidity and will signal you when they need water by “fainting” or drooping slightly. They are easy to prune and keep small, making them ideal for confined spaces.
9. Moss Varieties
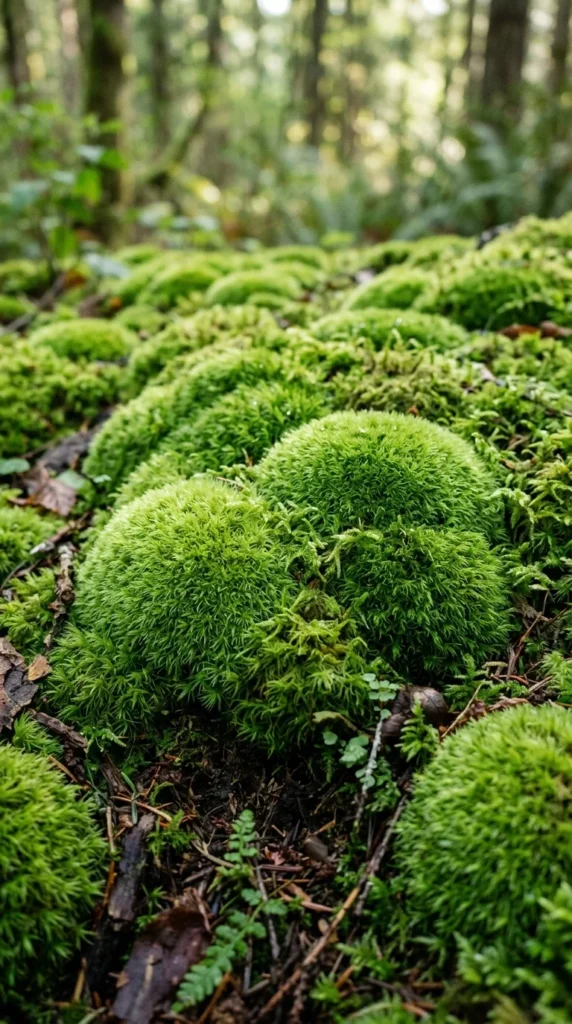
Moss is the “grass” of the terrarium world. Using Sheet Moss, Cushion Moss, or Java Moss helps to cover the soil and retain moisture. It adds an ancient, established look to the habitat and acts as a living sponge, regulating the humidity levels within the glass.
10. Planting Technique
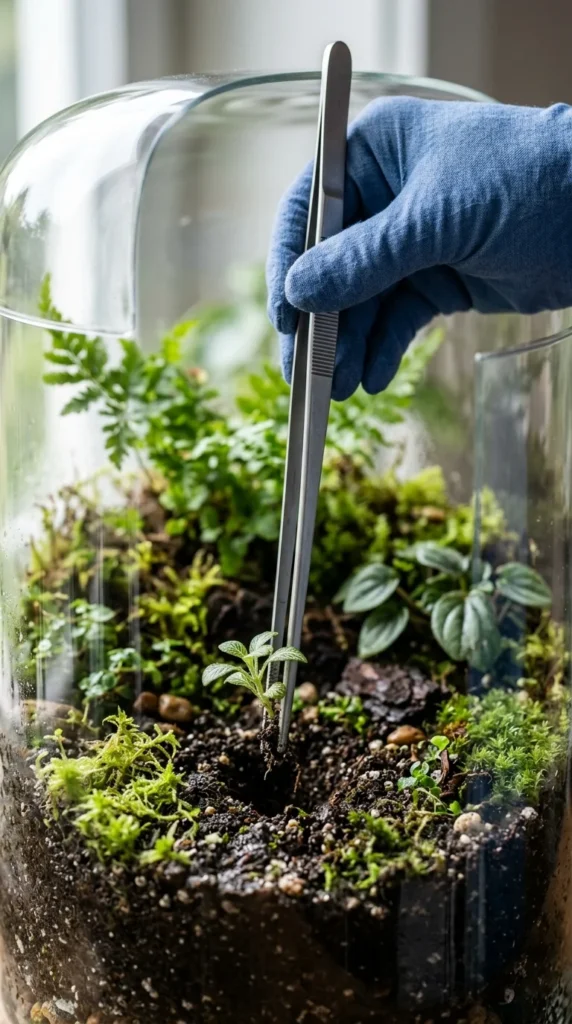
When planting, start from the back and work your way to the front. Use long-handled tweezers or chopsticks to place the plants without disturbing the surrounding soil. Ensure you tease the roots gently before planting to encourage them to spread into their new home.
11. Root Spacing
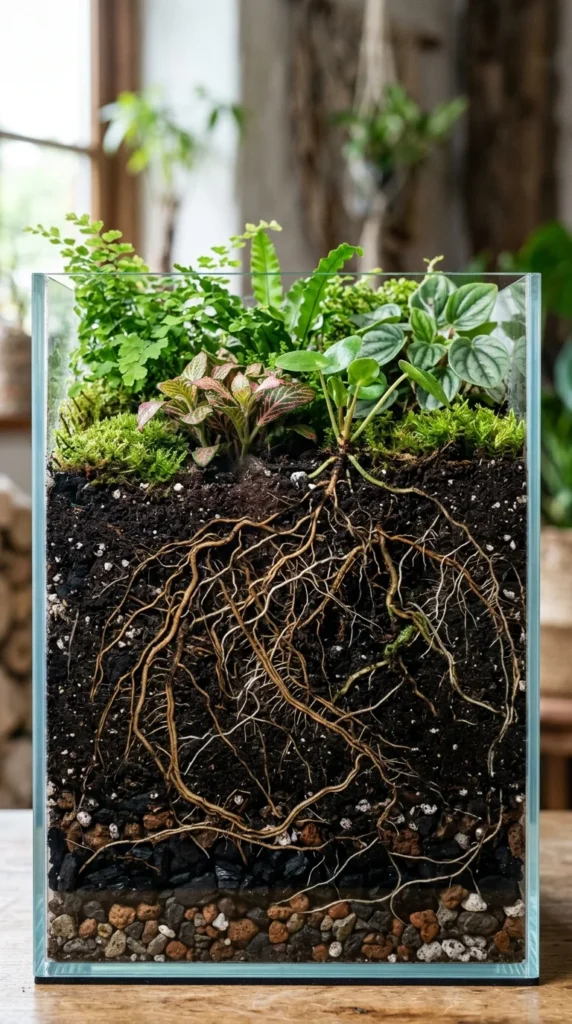
Avoid overcrowding your terrarium. While it’s tempting to fill every inch with greenery, plants need room to grow. Overcrowded roots can lead to competition for nutrients and poor air circulation between leaves, which encourages rot. Leave at least an inch or two between different species.
12. Initial Watering
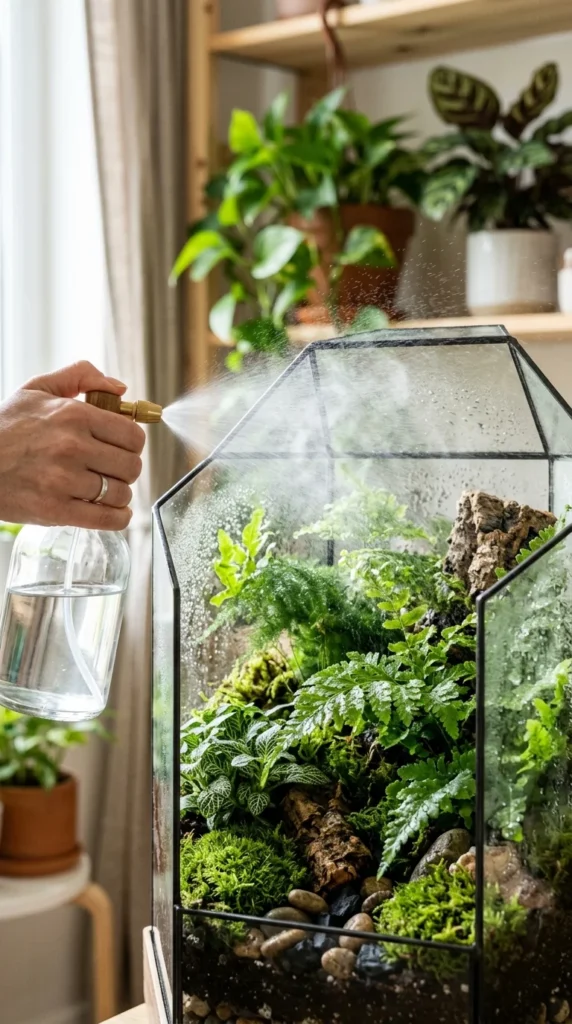
Once your plants are in place, they need their first drink. For a closed terrarium, use a spray bottle to mist the leaves and soil. The goal is to make the soil moist but not soggy. If you see water pooling at the very bottom of the rocks, you have added too much.
13. Light Exposure
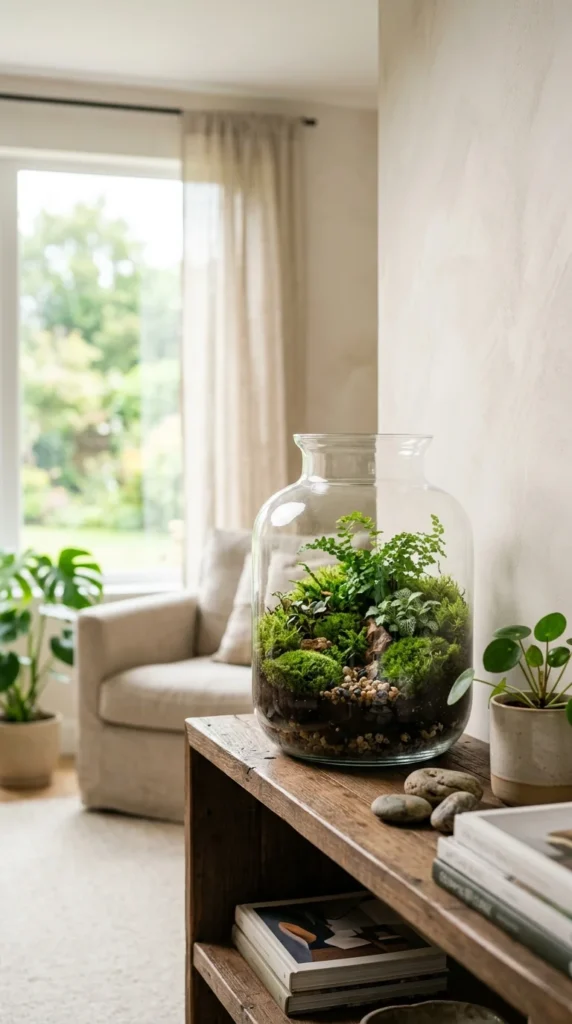
Terrariums need bright, indirect light. Direct sunlight through glass acts like a magnifying glass, which can cook your plants within hours. A North or East-facing window is usually best. If you don’t have enough natural light, a simple LED grow light can provide the full spectrum needed for growth.
14. Temperature Control
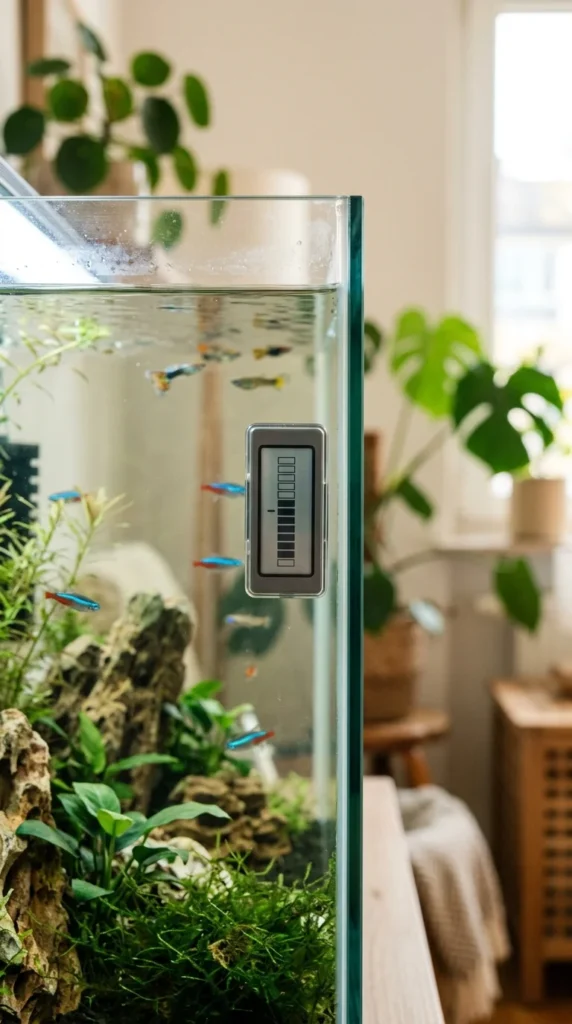
Most terrarium plants are tropical and prefer temperatures between 65°F and 80°F (18°C – 27°C). Keep your terrarium away from radiators, air conditioners, or drafty windows, as rapid temperature fluctuations can stress the plants and cause them to drop their leaves.
15. Ventilation Strategy
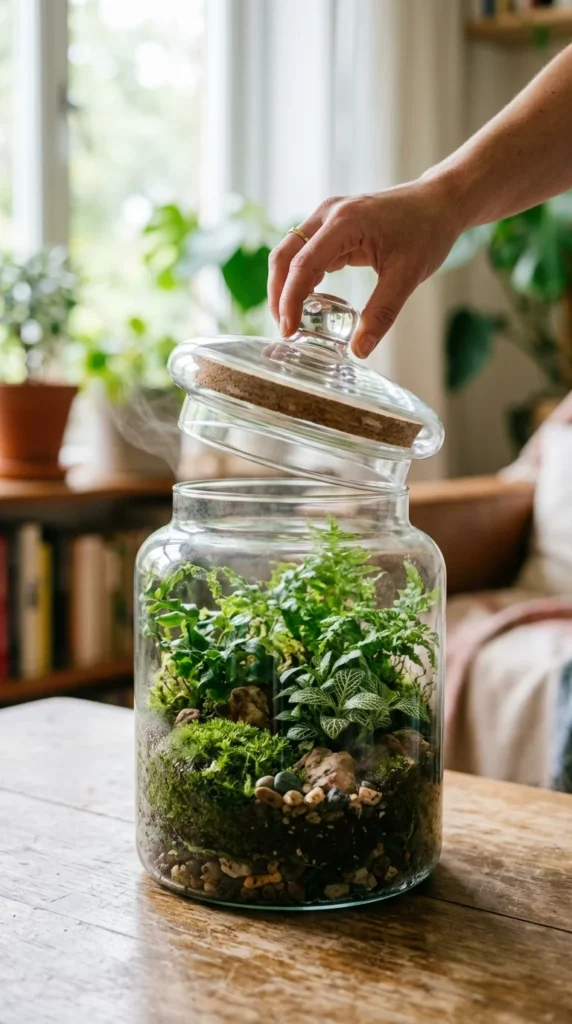
Even a closed terrarium needs a “breath” occasionally. If you notice heavy condensation covering more than 25% of the glass, open the lid for a few hours. This allows excess moisture to escape and introduces fresh carbon dioxide, which the plants need to thrive.
16. Pruning Habits
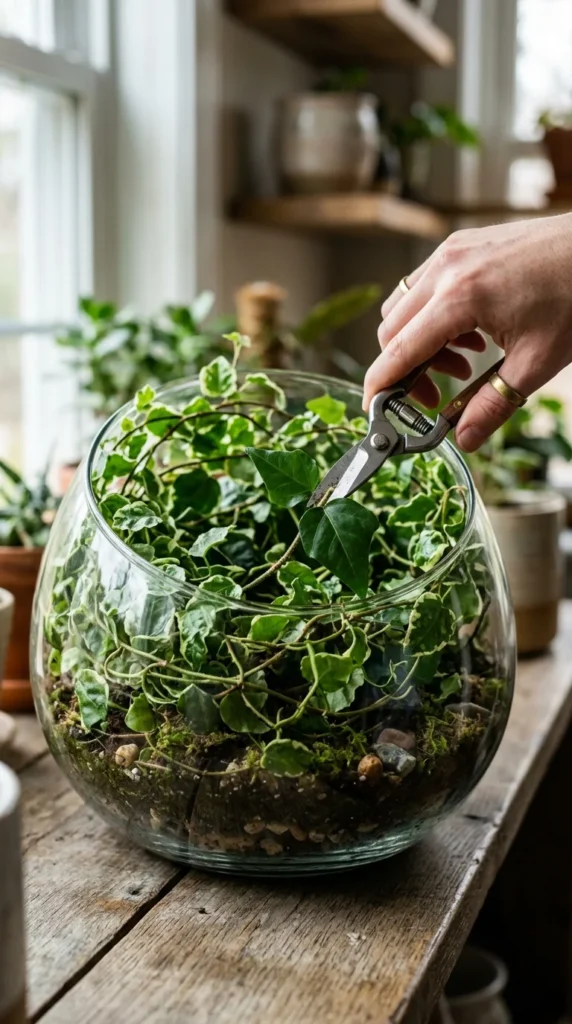
In the high-humidity environment of a terrarium, plants can grow surprisingly fast. Regular pruning is necessary to prevent one plant from taking over the entire space. Trimming leggy stems also encourages bushier, more compact growth, keeping the miniature aesthetic intact.
17. Glass Cleaning
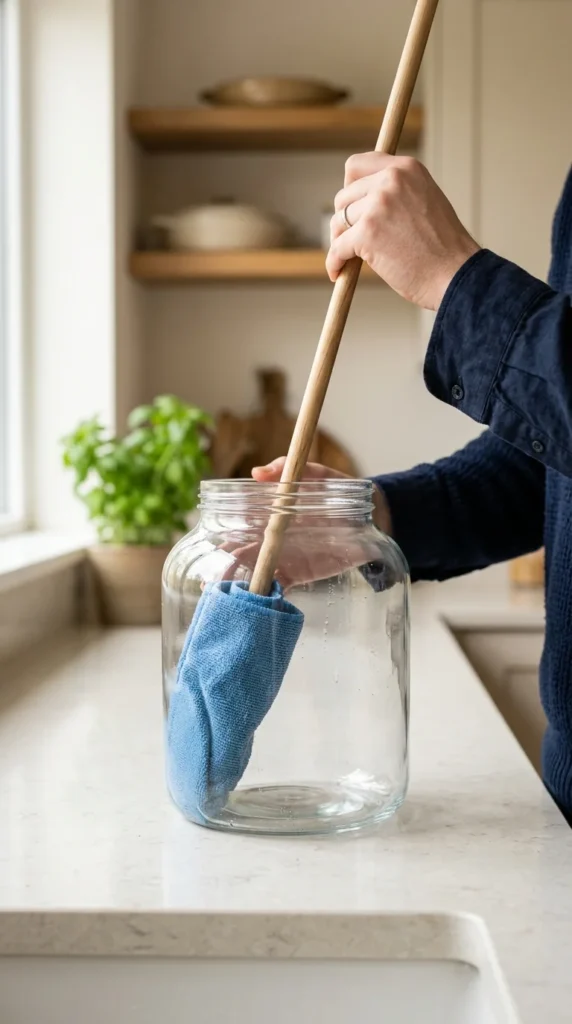
Over time, algae or mineral deposits from water can cloud the glass. Use a soft cloth or a sponge on a stick to wipe the interior walls. Avoid using harsh chemical glass cleaners; instead, use distilled water or a very weak vinegar solution to keep the glass crystal clear.
18. Pest Management
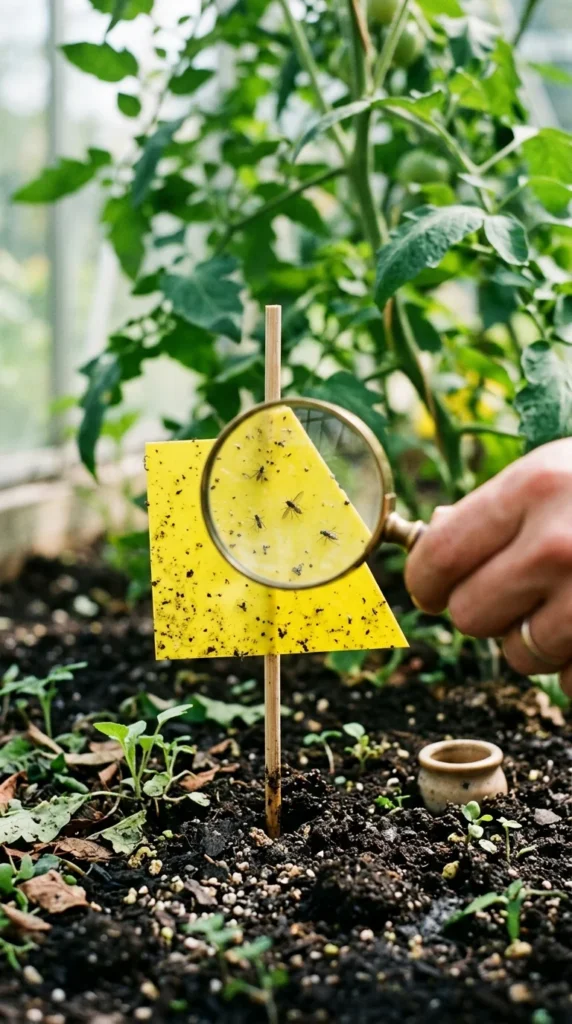
Keep an eye out for common pests like fungus gnats or spider mites. These can be introduced through the soil or new plants. If you spot them, treat the area with a drop of neem oil or remove the affected plant immediately to prevent the infestation from spreading to the entire ecosystem.
19. Springtails (Bioactive)
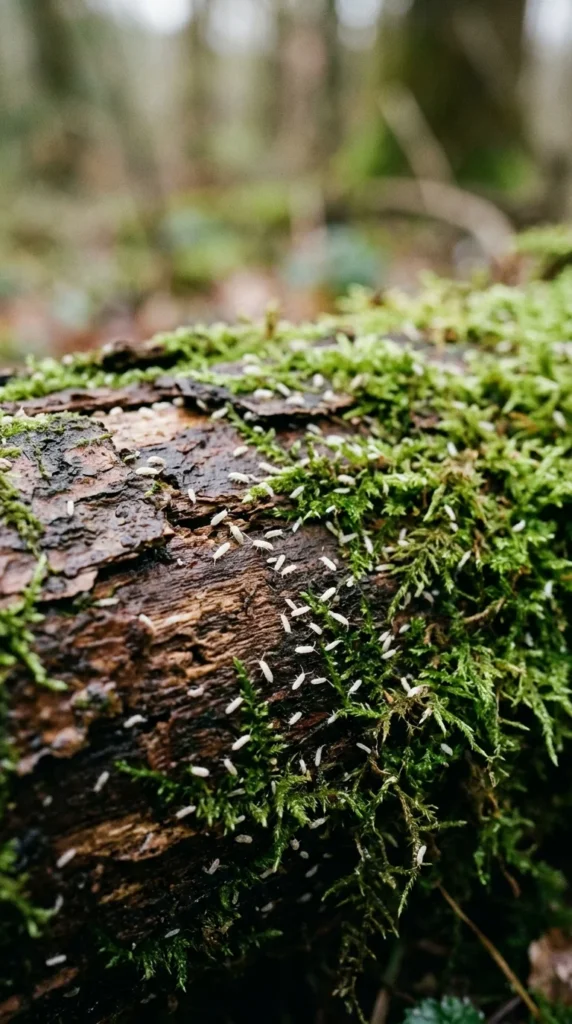
To create a truly healthy, “bioactive” habitat, consider adding springtails. These tiny, harmless insects act as the terrarium’s clean-up crew. They eat mold, decaying plant matter, and fungi, preventing the ecosystem from becoming stagnant and helping to recycle nutrients back into the soil.
20. Fertilization Needs
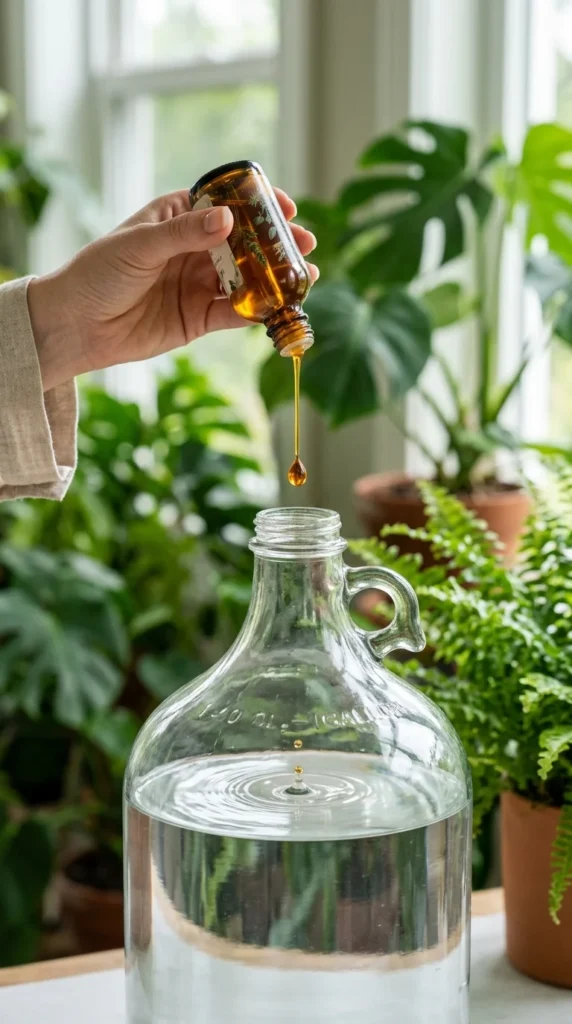
Terrariums rarely need fertilizer because you want to discourage rapid growth. However, if plants look pale or stunted after a year, use a liquid fertilizer diluted to 1/4 strength. Only fertilize during the growing season (spring and summer) and do so sparingly.
21. Specialized Tools
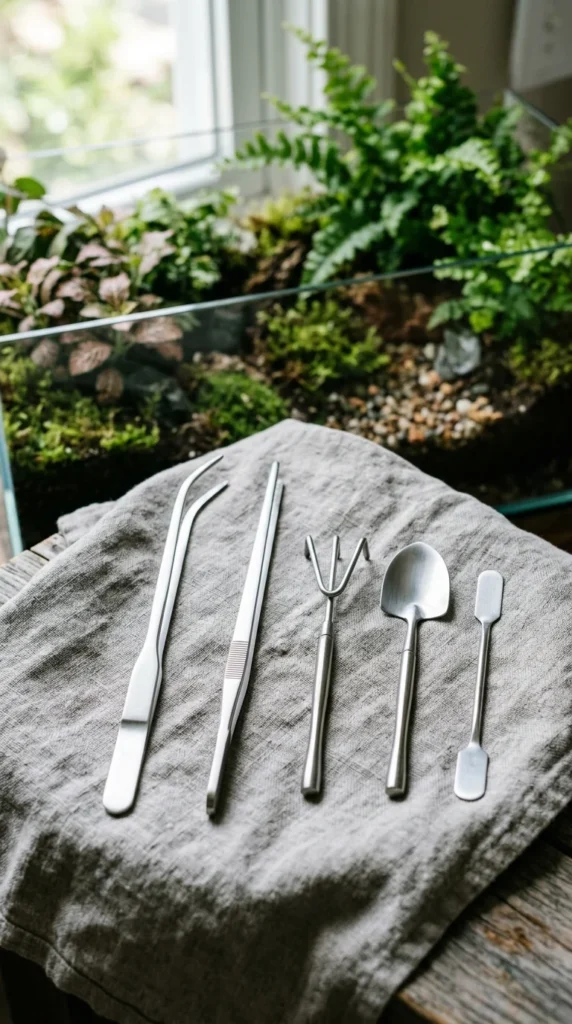
Standard gardening tools are too bulky for most terrariums. Investing in a set of long-reach tweezers, scissors, and a small telescoping rake will make maintenance significantly easier and allow you to reach tight corners without crushing delicate moss.
22. Condensation Monitoring
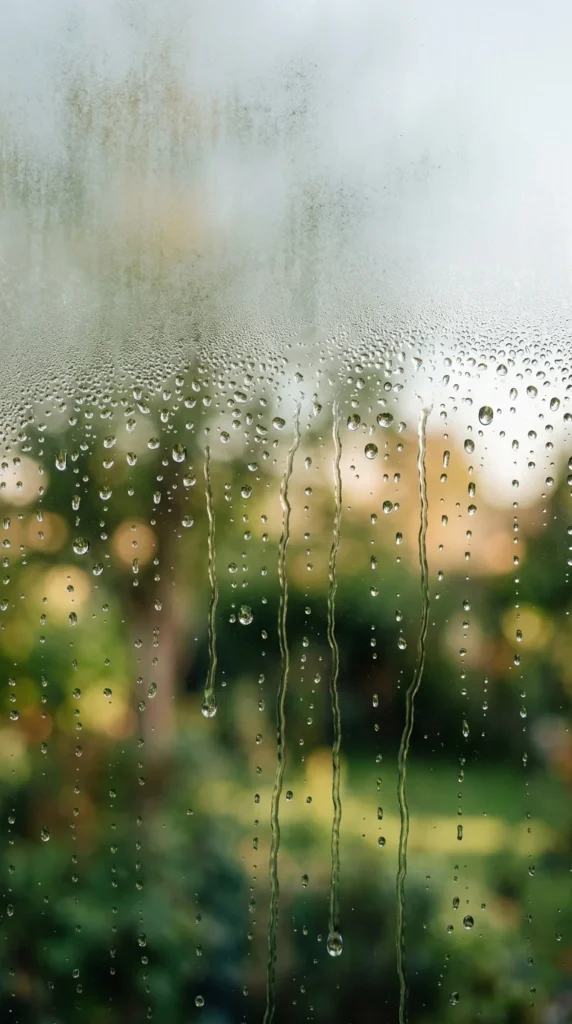
Condensation is the “pulse” of your terrarium. Ideally, you should see a light mist on the glass in the morning that clears up by midday. If the glass is always bone-dry, you need to add more water. If it’s always soaking wet, you need to leave the lid off for a while.
23. Seasonal Care
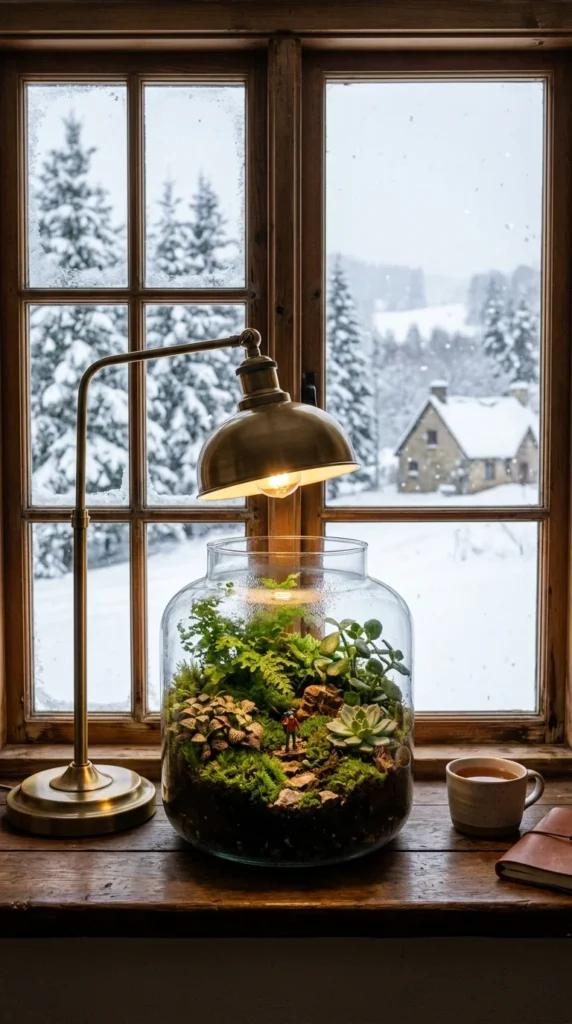
During winter, the light levels drop and the air becomes drier due to indoor heating. You may need to move your terrarium closer to a light source or mist it more frequently if the seal isn’t perfectly airtight. Conversely, in summer, ensure the room doesn’t get too hot.
24. Decorative Touches
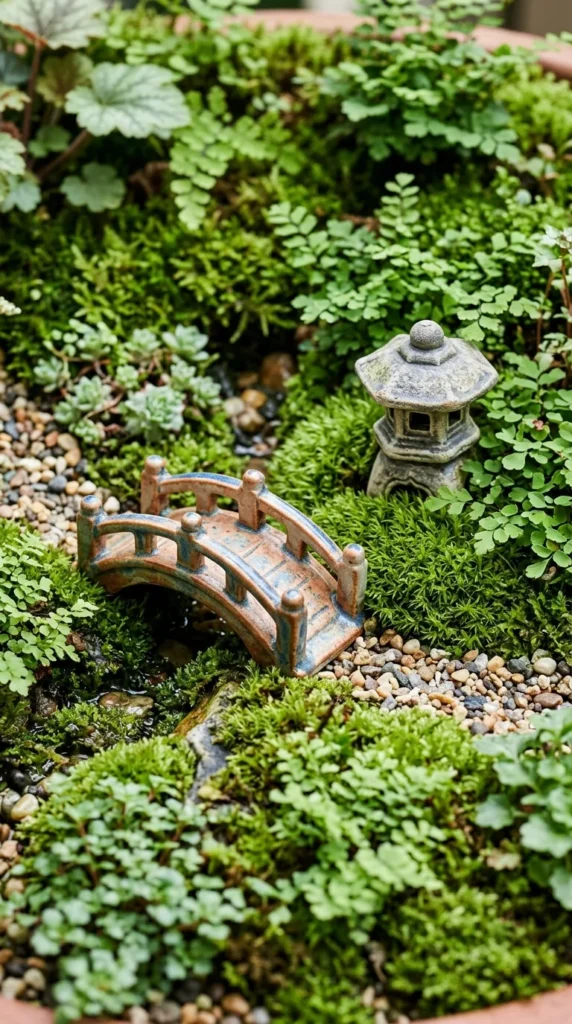
The final step is adding personality. Whether it’s a tiny ceramic figurine, a unique crystal, or a small bridge, these decorative touches turn a plant experiment into a work of art. These “easter eggs” invite viewers to look closer and appreciate the tiny world you have meticulously built.