
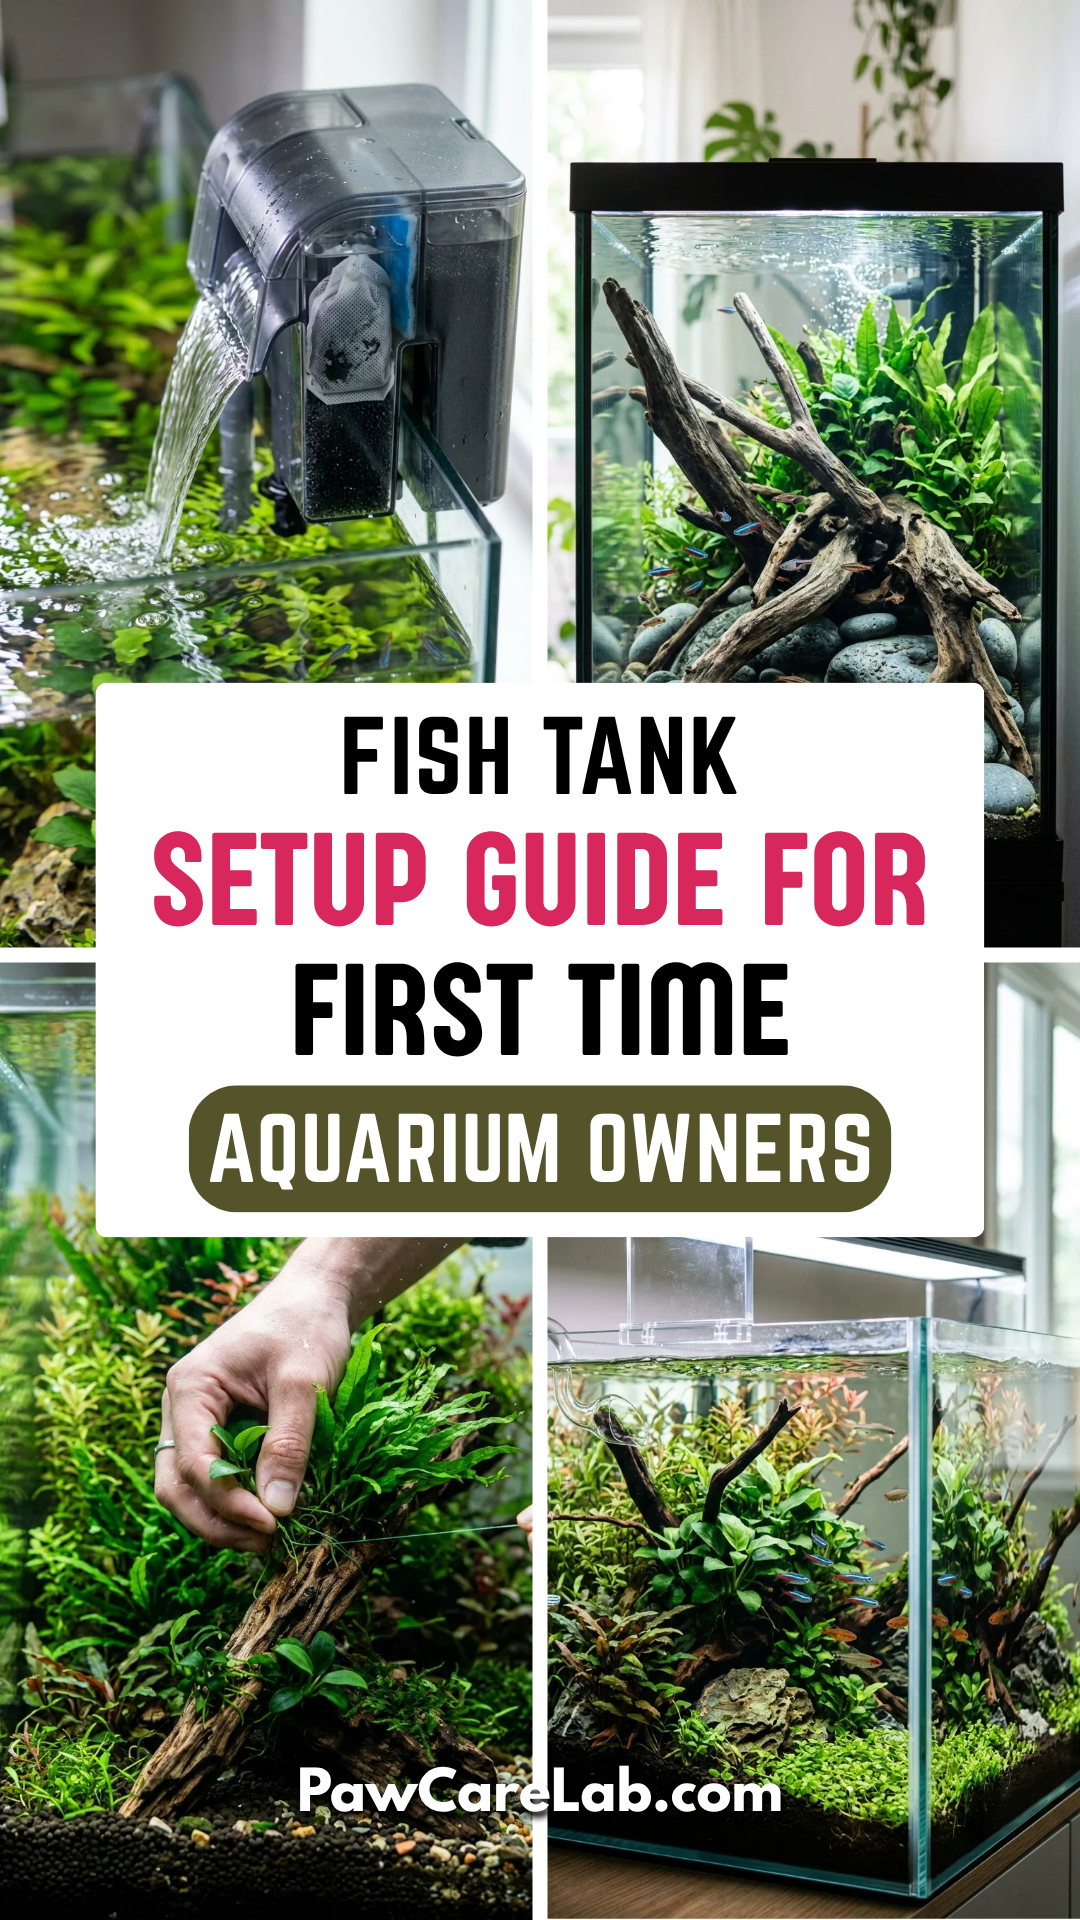
Starting your first aquarium is more than just buying a glass box and some colorful fish; it is the creation of a living, breathing ecosystem within your home. For the first-time owner, the process can seem daunting, but with the right roadmap, you can transform a simple hobby into a mesmerizing aquatic sanctuary. This guide breaks down the essential steps to ensure your underwater world thrives from day one.
1. Location
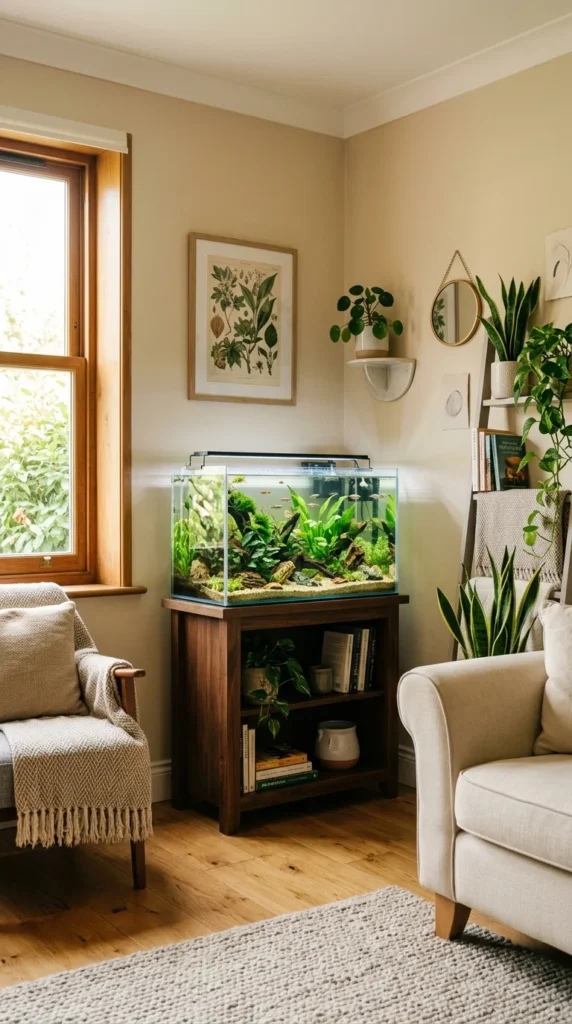
Choosing the right spot for your tank is the foundation of success. You need a level surface that can support significant weight—remember, water weighs about 8.3 pounds per gallon. Keep the tank away from direct sunlight to prevent uncontrollable algae blooms and away from drafts or heaters to maintain a stable water temperature. Access to a power outlet is also essential for your equipment.
2. Tank Size
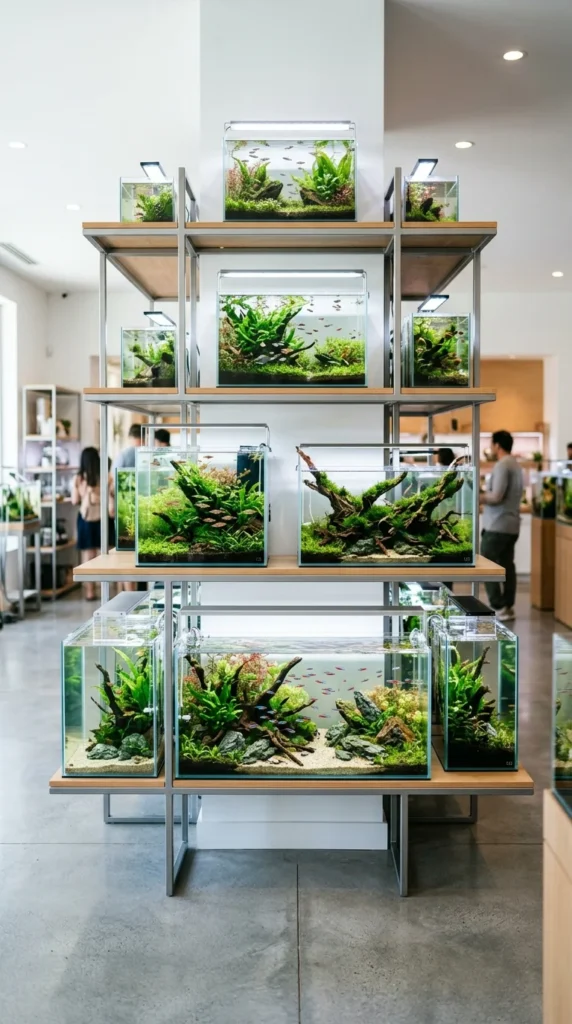
For beginners, bigger is often better. While a small 5-gallon tank might seem easier, larger volumes of water are actually more stable. In a small tank, a minor mistake can quickly turn into a chemical disaster. Aim for a 20-gallon “Long” or “High” tank as your starting point; it provides enough room for a variety of fish while remaining manageable for a first-timer.
3. Stand
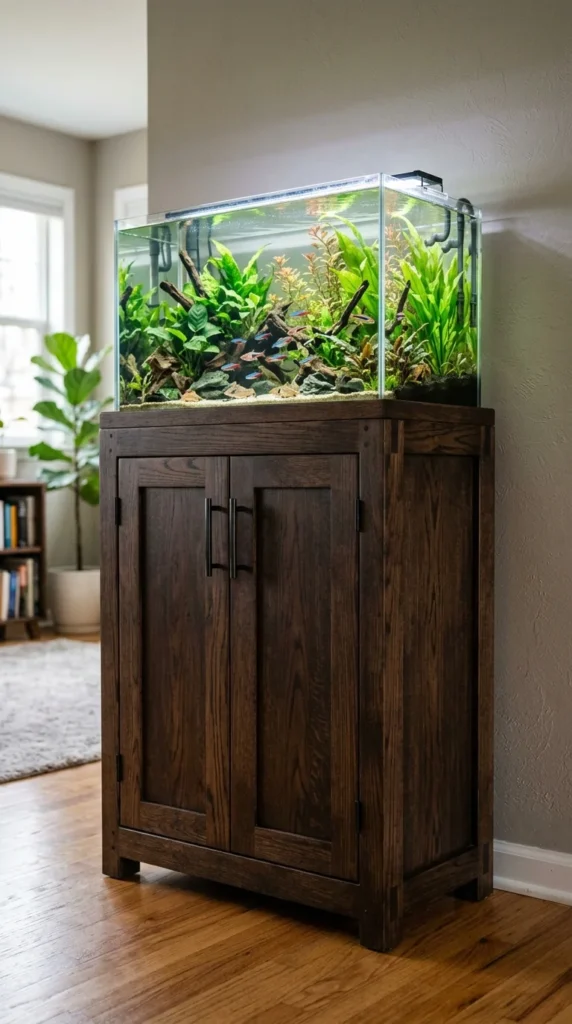
Never underestimate the weight of an aquarium. A standard dresser or coffee table might bow or crack under the pressure of 200+ pounds. Invest in a dedicated aquarium stand designed to distribute weight evenly across the perimeter of the tank. This prevents the glass from stressing and potentially leaking or shattering over time.
4. Cleaning
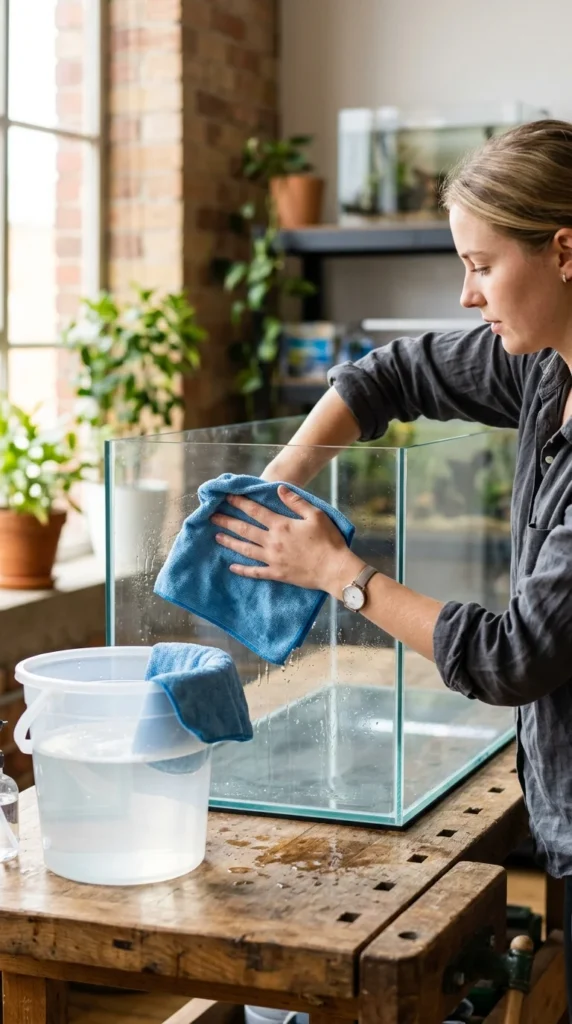
Before any water goes in, you must clean the tank. Never use soap, Windex, or household detergents, as even a tiny residue can be lethal to fish. Instead, use a clean cloth and plain warm water or a specialized aquarium-safe glass cleaner. Rinse the inside thoroughly to remove any dust or debris from the manufacturing and shipping process.
5. Substrate
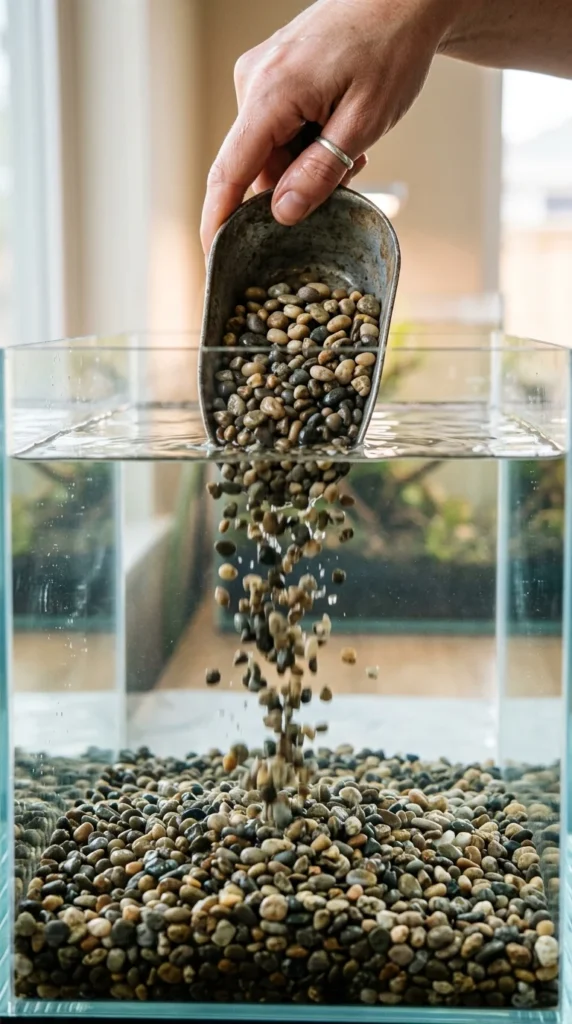
The substrate—the material at the bottom of your tank—is more than just decoration. It provides a home for beneficial bacteria and a place for plants to root. Whether you choose natural gravel, sand, or specialized plant soil, rinse it repeatedly in a bucket until the water runs clear. This prevents your tank from looking like a muddy mess when you first fill it.
6. Water Filling
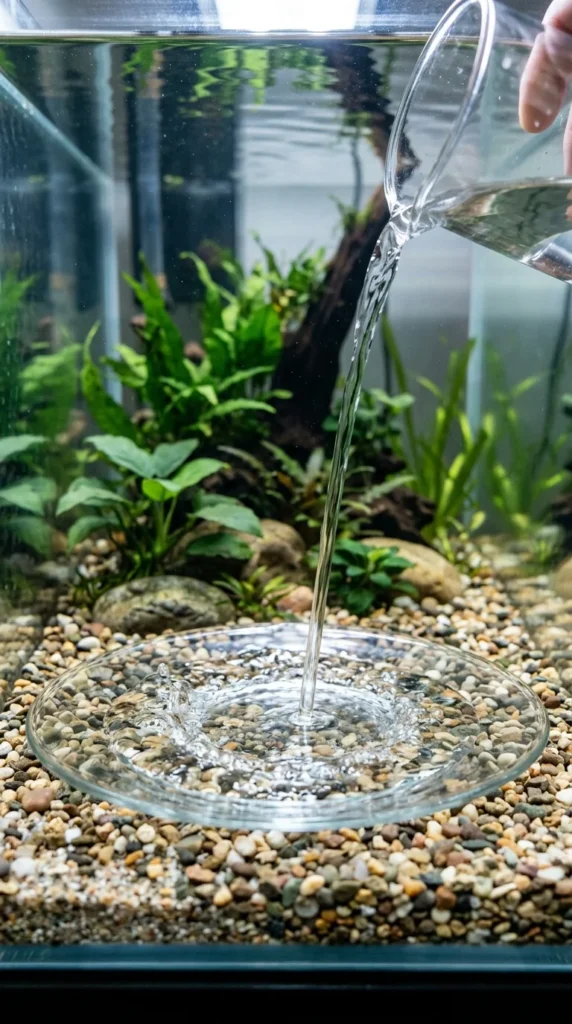
Filling the tank requires a bit of technique. To avoid blowing a hole in your carefully leveled substrate, place a small plate or bowl on the bottom and pour the water onto it. This disperses the force of the water. Only fill the tank about halfway at first; this makes it much easier to add decorations and plants without overflowing the tank.
7. Heater
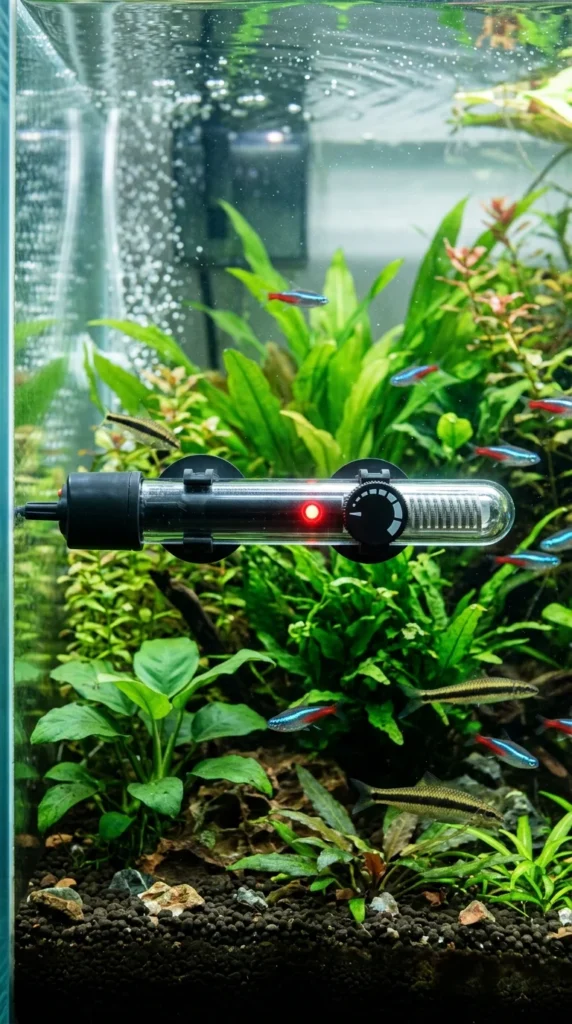
Most tropical fish require a stable temperature between 75°F and 80°F. A submersible heater is essential for maintaining this consistency. Position the heater near the water flow (like the filter intake) so the warmed water is distributed evenly throughout the tank. Always let the heater sit in the water for 15 minutes before plugging it in to allow the glass to adjust to the temperature.
8. Filter
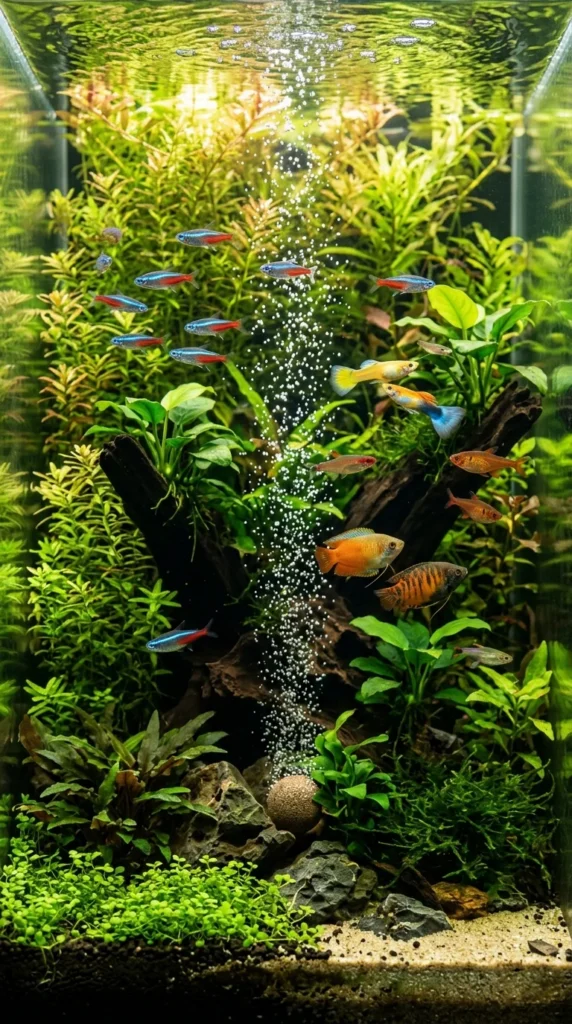
The filter is the heart of your aquarium. it removes physical debris, neutralizes toxic chemicals, and aerates the water. For beginners, a “Hang-On-Back” (HOB) filter is usually the best choice due to its ease of maintenance. Ensure the filter is rated for a tank size slightly larger than yours to guarantee crystal-clear water and high oxygen levels.
9. Hardscape
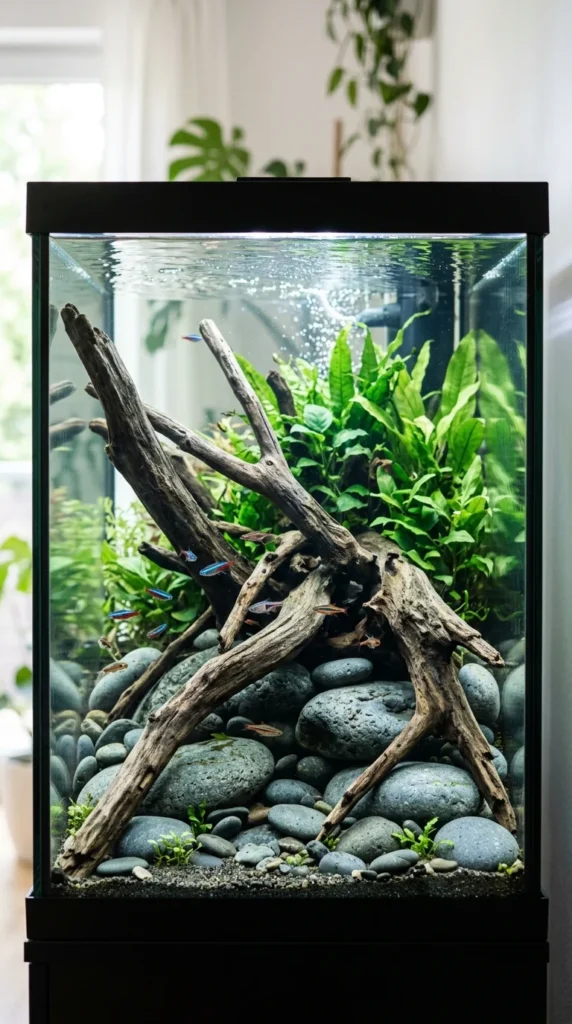
Hardscaping involves adding non-living elements like rocks and driftwood. This creates the “skeleton” of your underwater landscape. Use pieces of varying sizes to create depth and provide hiding spots for shy fish. Ensure any rocks used are aquarium-safe and won’t leach minerals that could drastically alter your water’s pH level.
10. Plants
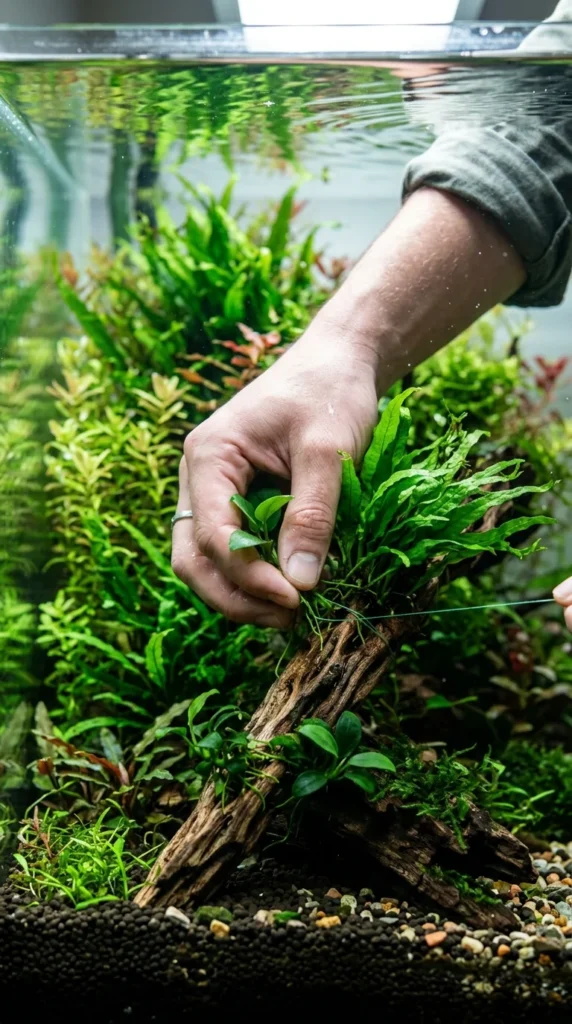
Live plants are highly recommended for new tanks. They absorb nitrates, produce oxygen, and compete with algae for nutrients. Start with hardy, “low-light” species like Java Fern, Anubias, or Amazon Swords. These plants are forgiving and don’t require expensive CO2 systems to look beautiful and keep your water healthy.
11. Dechlorination
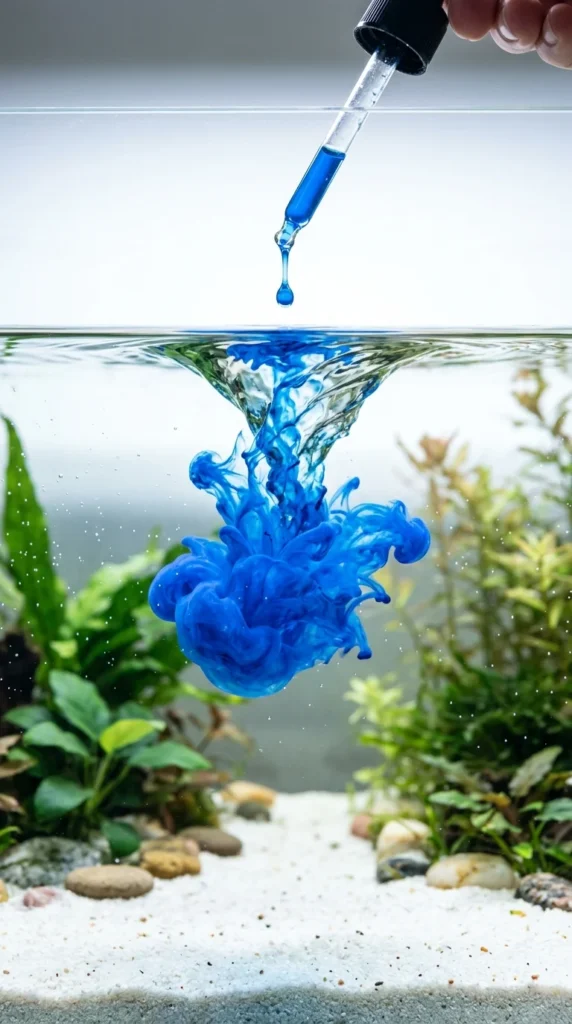
Tap water contains chlorine and chloramines which are safe for humans but deadly for fish. Every time you add tap water to your tank, you must use a water conditioner. This chemical neutralizer instantly makes the water safe by removing heavy metals and breaking down the chlorine bonds that would otherwise damage a fish’s gills.
12. Cycling
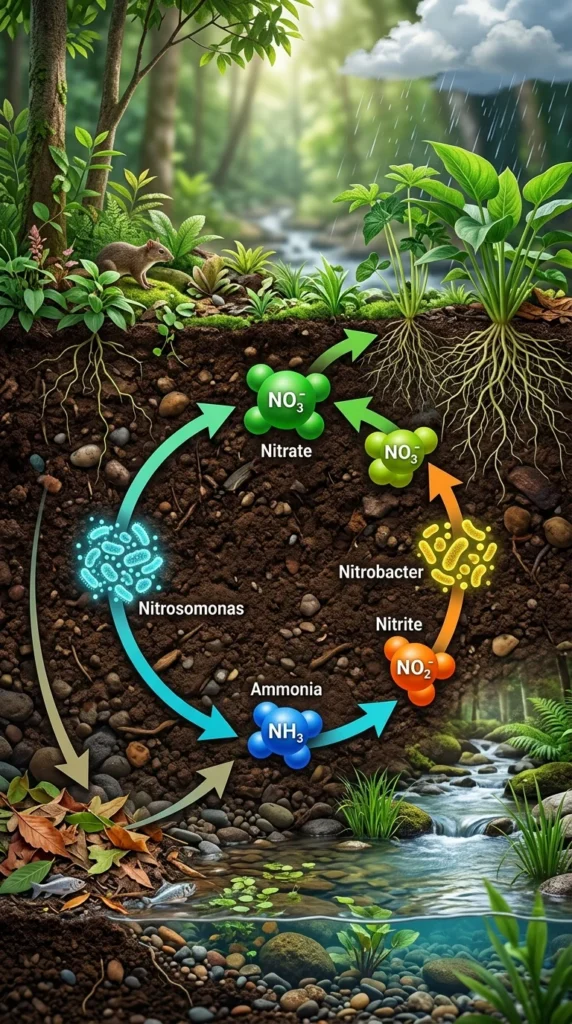
This is the most critical step and the one most beginners skip. “Cycling” your tank means growing a colony of beneficial bacteria that eat toxic fish waste. This process usually takes 4 to 6 weeks. You can do this “fishless” by adding a small amount of fish food or pure ammonia and waiting for your test kit to show that the ammonia and nitrites have dropped to zero.
13. Testing
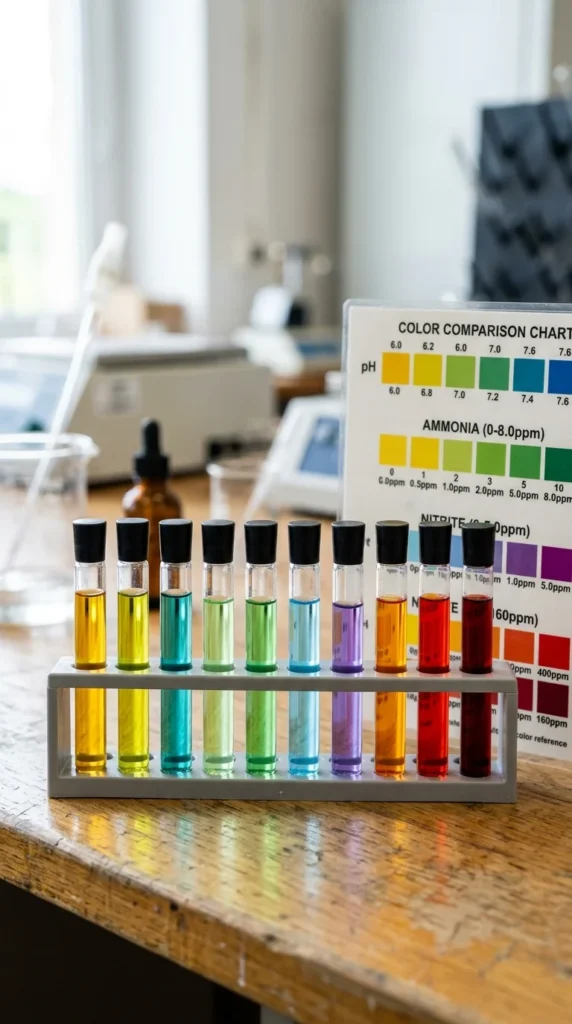
You cannot tell if water is safe just by looking at it. A liquid test kit is an essential tool for every aquarium owner. During the cycling process and for the life of the tank, you should regularly test for Ammonia (should be 0), Nitrite (0), and Nitrate (ideally below 20ppm). This allows you to catch water quality issues before they harm your fish.
14. Choosing Fish
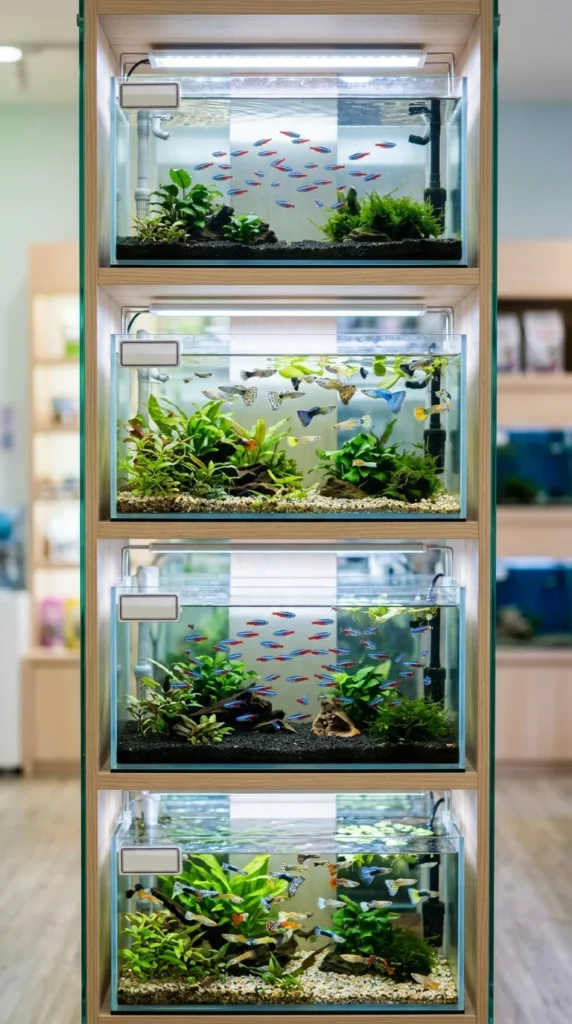
Once your tank is cycled, it’s time to choose your inhabitants. For a first-timer, stick to hardy species. Good choices include Zebra Danios, Cherry Barbs, or Platies. Avoid “expert level” fish like Discus or sensitive wild-caught species. Research the adult size of the fish to ensure they won’t outgrow your tank or view their tankmates as snacks.
15. Acclimation
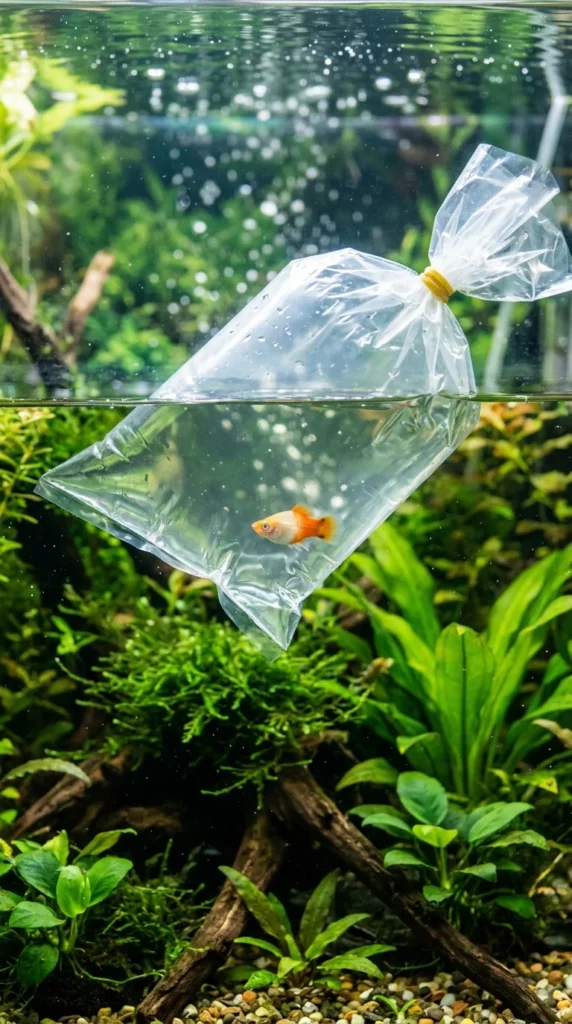
Never just dump fish into a new tank. The “float and drip” method is best. Float the sealed bag in your tank for 15-20 minutes to match the temperature. Then, slowly add small amounts of your tank water into the bag over the course of 30 minutes. This allows the fish to adjust to the new pH and water hardness without going into shock.
16. Feeding
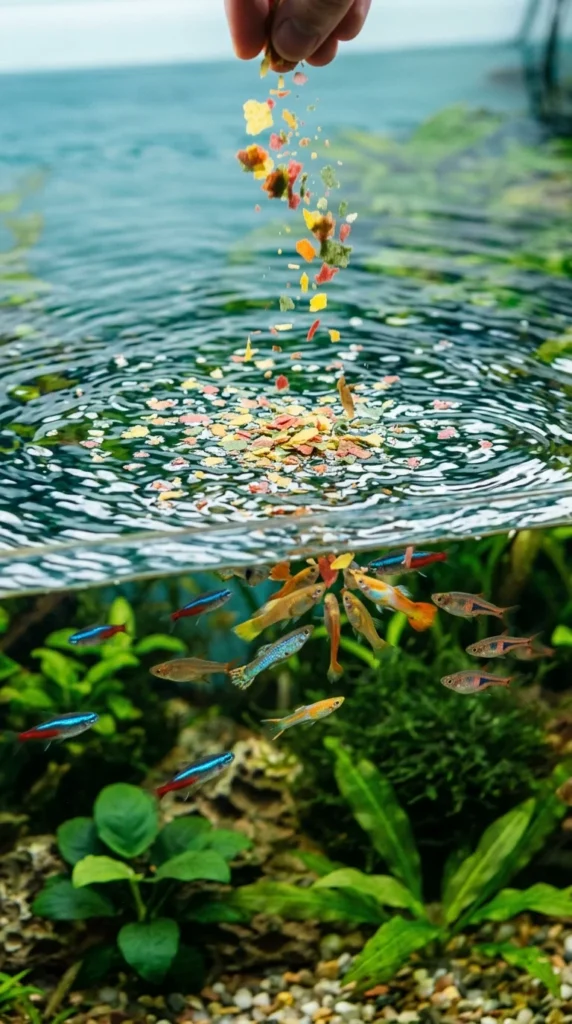
Overfeeding is the number one cause of aquarium failure. Excess food rots, causing ammonia spikes and algae. Feed your fish only what they can consume in two minutes, once or twice a day. High-quality flakes or pellets should be the staple, supplemented occasionally with frozen treats like brine shrimp or bloodworms.
17. Lighting
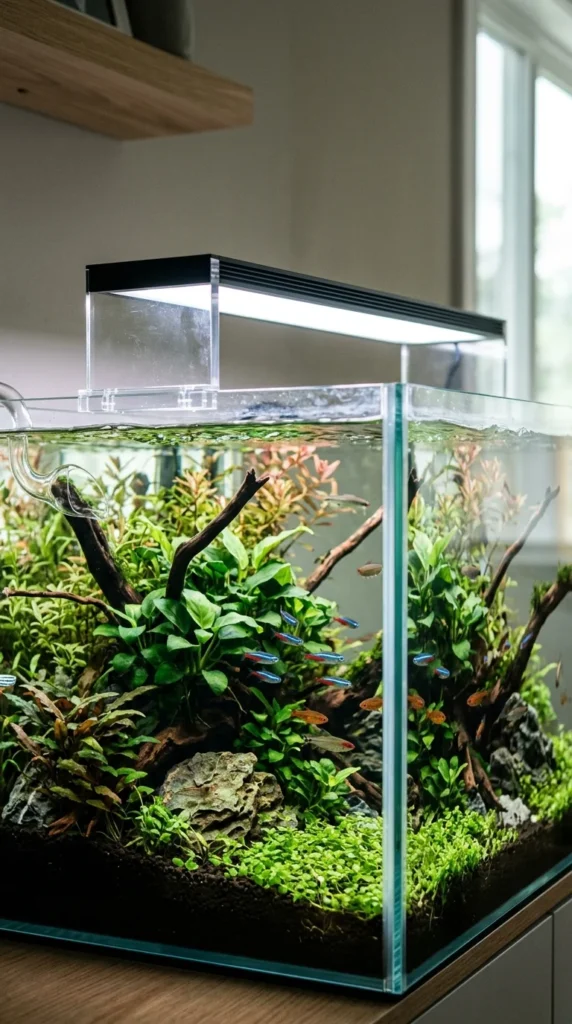
Fish need a day-night cycle to stay healthy, and plants need light to grow. However, leaving the lights on for too long will result in a green, murky tank. Aim for 8 to 10 hours of light per day. Using a simple plug-in timer is the best way to ensure consistency, helping your fish maintain a natural rhythm.
18. Algae Management
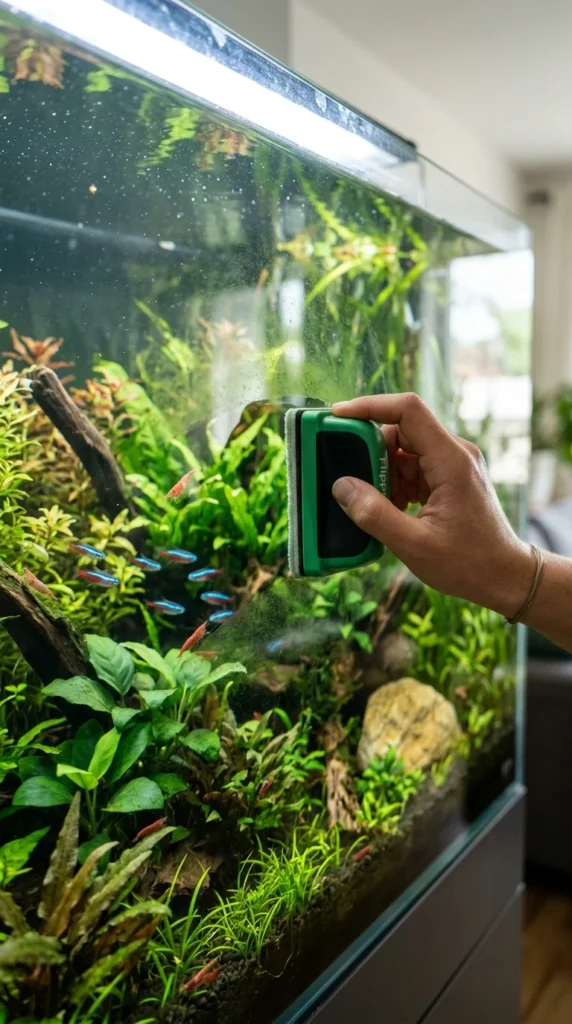
Algae is a natural part of any aquatic environment, but you want to keep it in check. Regular glass scraping and maintaining a proper light schedule are your first lines of defense. You can also enlist “janitor” fish like Nerite snails or Amano shrimp, which spend their days grazing on algae and keeping your decorations clean.
19. Maintenance Schedule
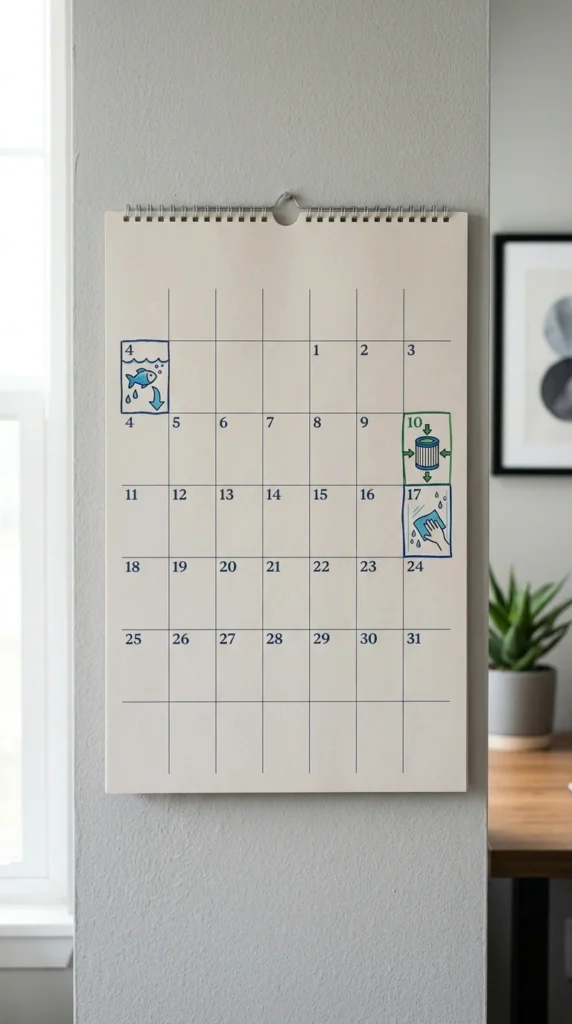
Success in fishkeeping comes down to consistency. Establish a routine where you perform a partial water change every week or every two weeks. Small, frequent maintenance tasks are much easier and more effective than waiting months and trying to do a “deep clean,” which can actually crash your biological filter.
20. Water Changes
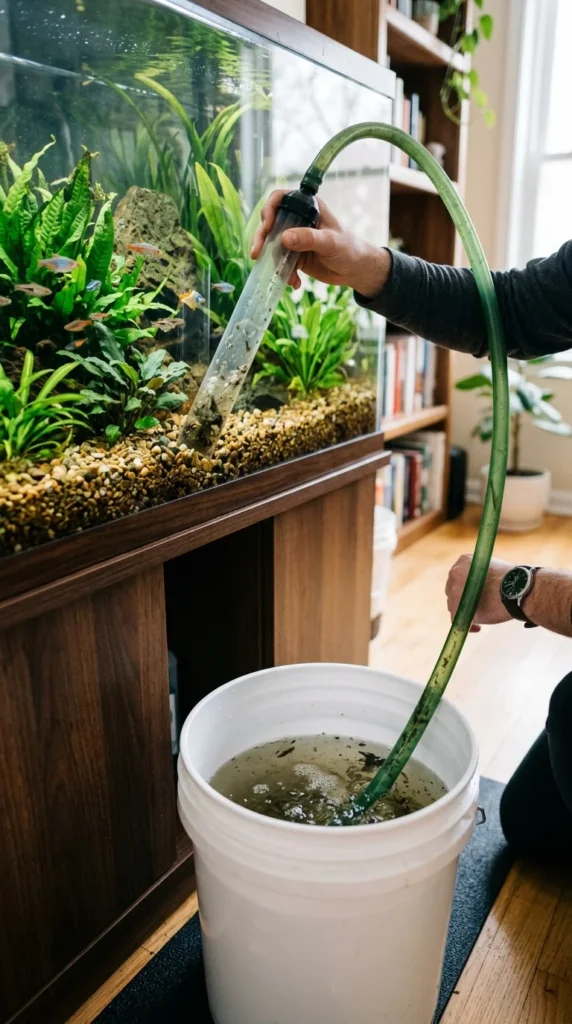
You don’t need to empty the whole tank to clean it. In fact, you shouldn’t! Replacing 20-25% of the water once a week is ideal. Use a gravel vacuum to “hoover” the waste out of the substrate as you drain the water. This removes the nitrates and physical waste that the filter can’t reach, keeping the environment fresh.
21. Filter Maintenance
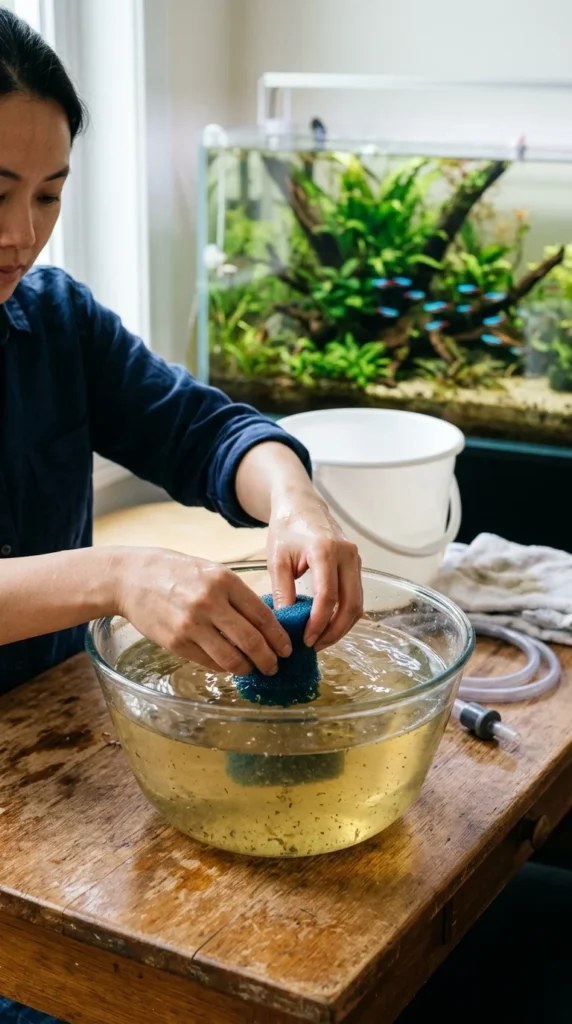
Your filter sponges will eventually get clogged with “muck.” When this happens, rinse them out—but only in a bucket of old aquarium water. Never use tap water for this, as the chlorine will kill the beneficial bacteria living in the sponge. You want to remove the sludge while keeping the invisible, helpful bacteria alive.
22. Quarantine
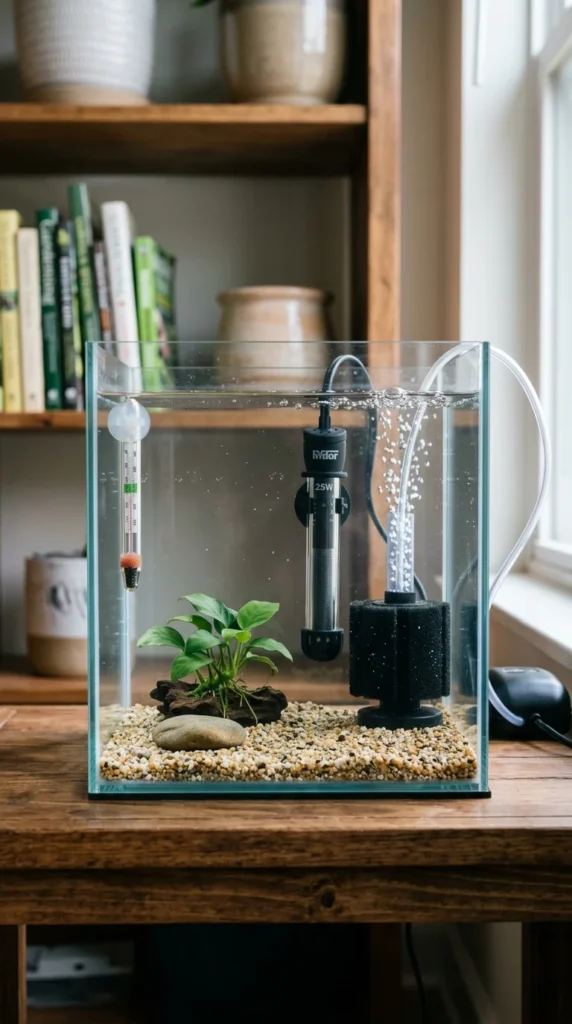
Experienced hobbyists often use a quarantine tank. When you buy new fish, keep them in a separate, smaller tank for two weeks before adding them to your main aquarium. This ensures they aren’t carrying any diseases or parasites that could infect your established community, saving you a lot of heartbreak and money.
23. Aeration
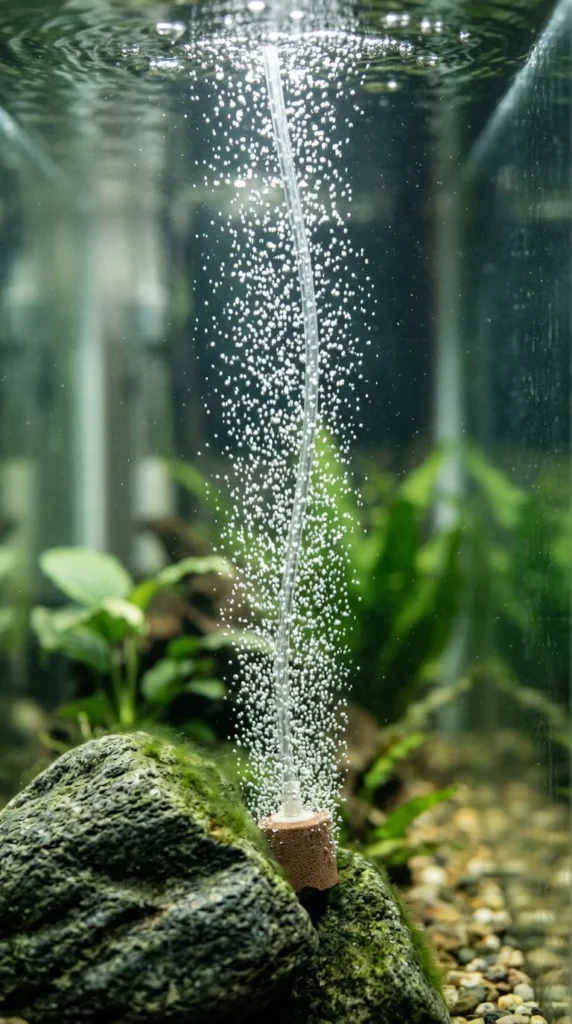
Fish need oxygen just like we do. While filters provide some surface agitation, adding an air stone or a “bubbler” can help, especially in warmer water where oxygen levels are naturally lower. The bubbles breaking at the surface increase the surface area for gas exchange, ensuring your fish can breathe easily even during the hottest months.
24. Lid/Hood
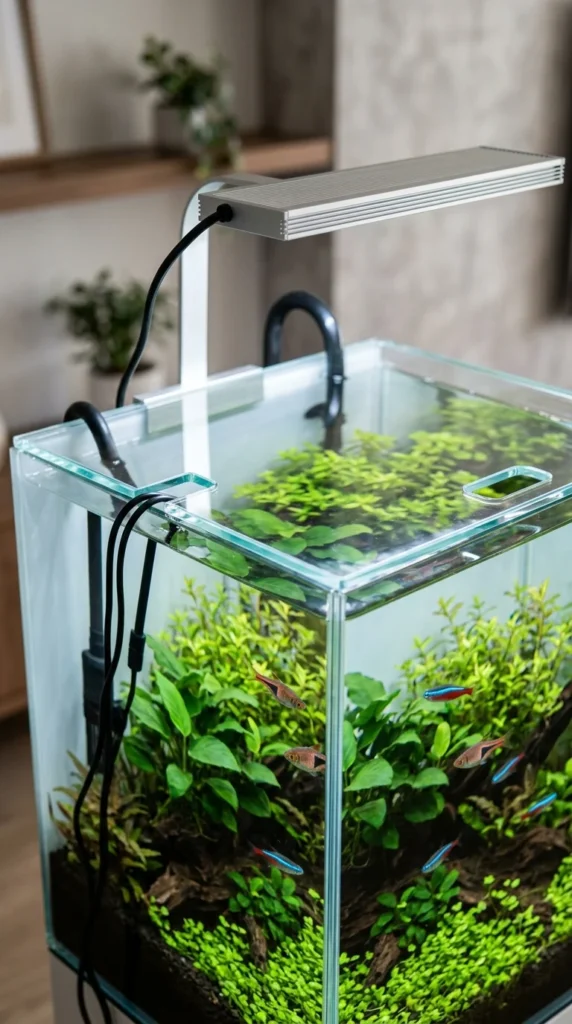
A lid serves three purposes: it prevents fish from jumping out (and many will!), it reduces evaporation, and it keeps dust and household sprays out of the water. Ensure your lid has a clear section for your light to shine through and is easy to open or remove for feeding and maintenance.
25. Thermometer
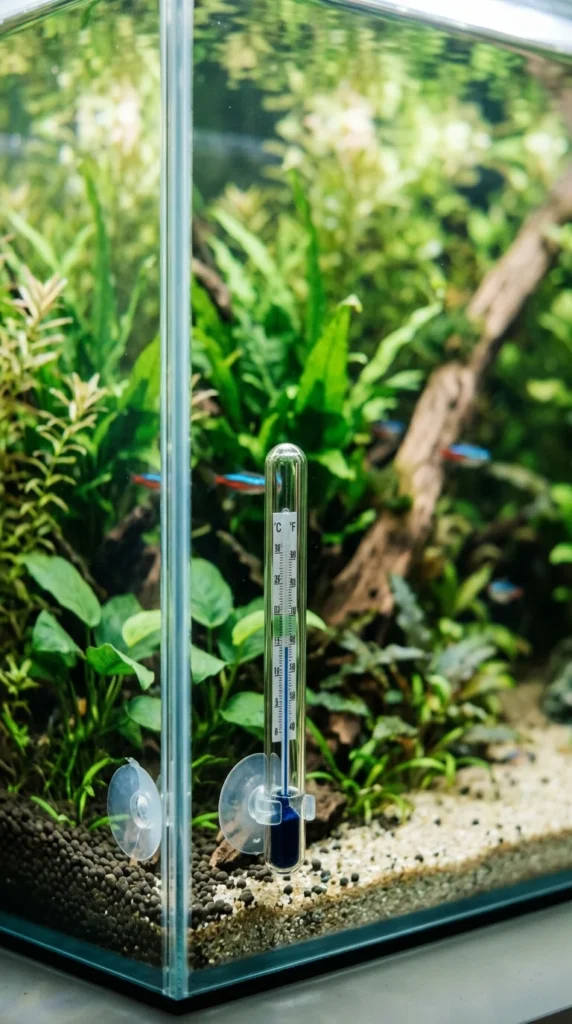
Never trust the dial on your heater alone. Heaters can fail or be calibrated incorrectly. A simple, inexpensive glass thermometer placed on the opposite side of the tank from the heater will give you an accurate reading of the overall water temperature. Check it daily to ensure your fish aren’t getting too cold or overheated.
26. Community Compatibility
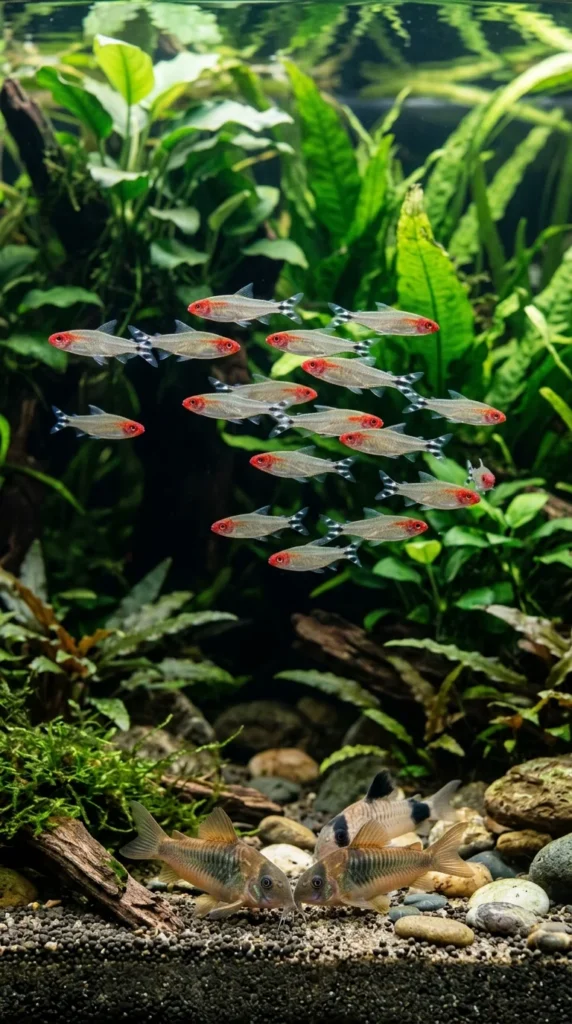
Not all fish get along. Some are aggressive, some are nippy, and some are just too large. Before buying, research the “temperament” of your fish. Avoid mixing slow-moving fish with long fins (like Bettas) with fast, nippy fish (like Tiger Barbs). A harmonious tank is a healthy tank where no one is living in fear.
27. Enjoyment and Patience
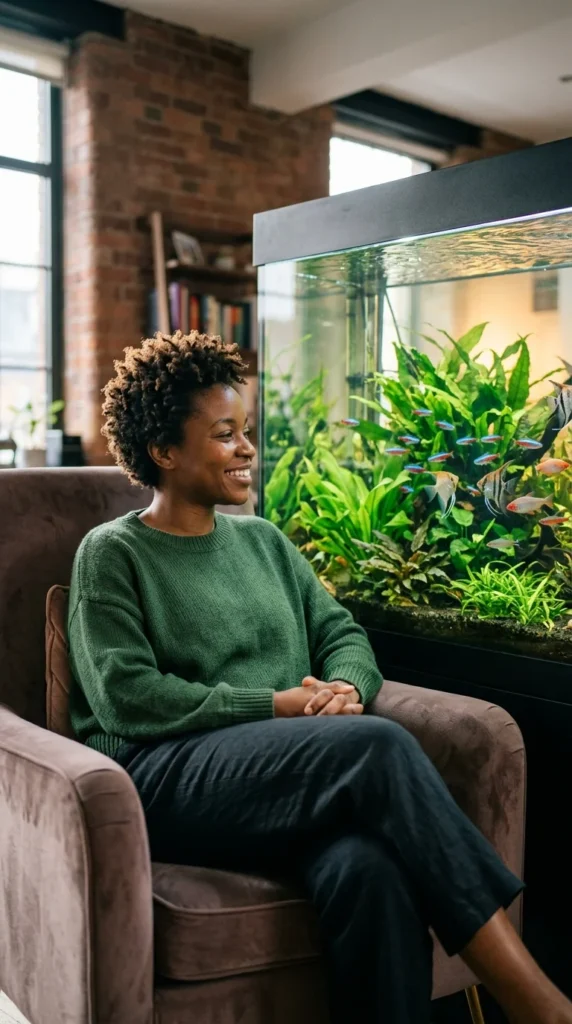
The final and most important step is to be patient. An aquarium is a slow-developing hobby. Don’t rush to add too many fish at once, and don’t panic if you see a little algae or if a plant loses a leaf. Sit back, watch the graceful movements of your fish, and enjoy the tranquil beauty of the world you’ve created. Congratulations, you are now an aquarium owner!