
Starting a saltwater aquarium is often viewed as a daunting challenge, but it is actually one of the most rewarding hobbies a person can undertake. Unlike freshwater tanks, marine systems offer a kaleidoscope of neon colors, fascinating symbiotic relationships, and prehistoric-looking invertebrates. However, the stakes are higher because the ocean is a massive, stable environment, and replicating that in a glass box requires specific knowledge. Here are 26 fundamental basics every beginner needs to master to ensure their underwater slice of the ocean thrives.
1. Deep Research

Before buying a single piece of equipment, you must invest time in learning. The “buy first, ask questions later” approach is the fastest way to lose money and stress out livestock. Understand the difference between a Fish-Only (FO) tank, a Fish-Only with Live Rock (FOWLR) tank, and a Reef tank. Each requires different levels of equipment, lighting, and maintenance.
2. Tank Size
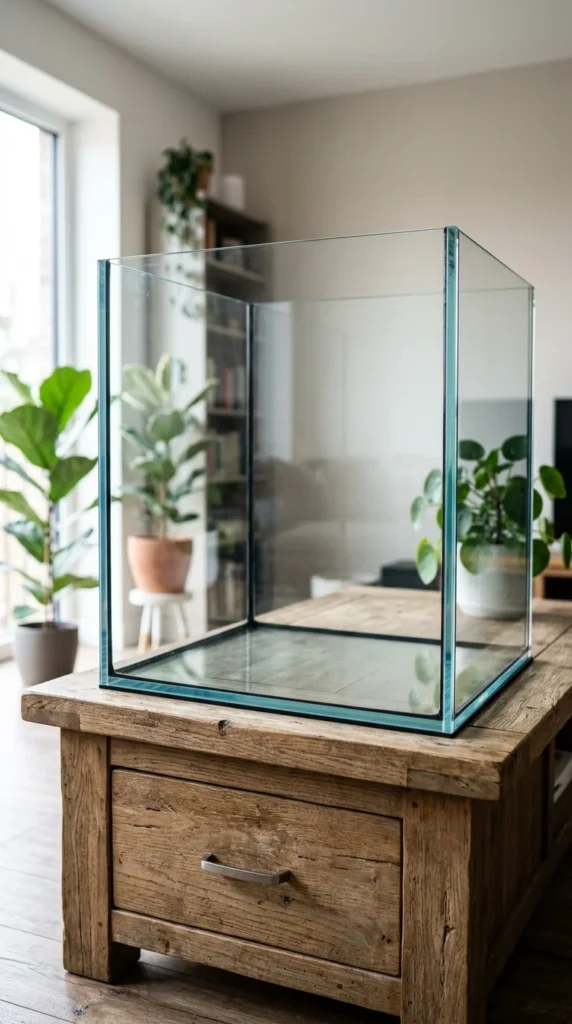
In the saltwater world, bigger is actually easier for beginners. Small volumes of water (nano tanks) can swing in temperature and salinity very quickly. A larger tank, such as a 40-gallon breeder or a 55-gallon long, provides a “buffer” against mistakes. If something goes wrong in 50 gallons of water, it happens much slower than in 5 gallons.
3. Placement Strategy
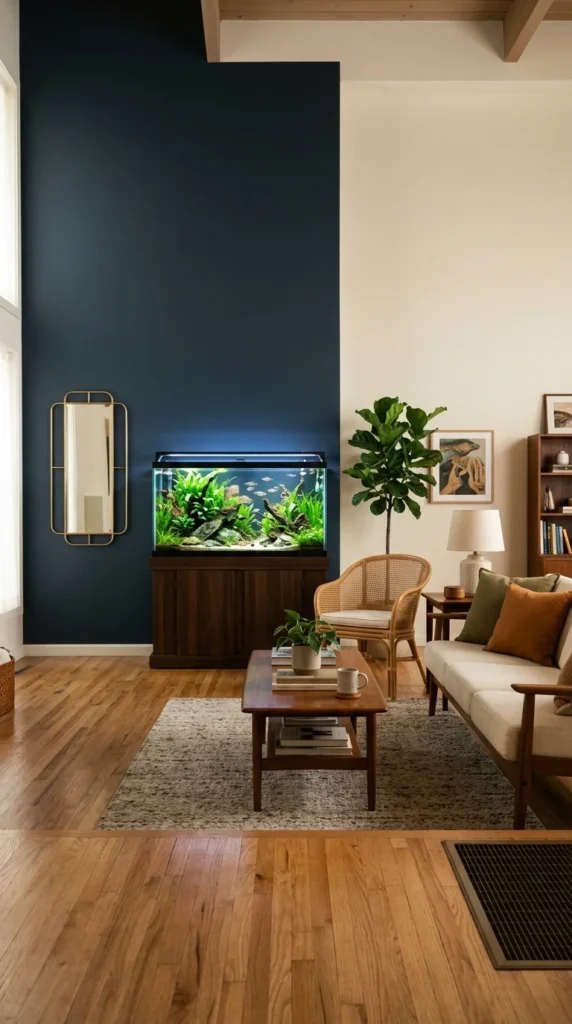
Where you put the tank is just as important as the tank itself. Avoid direct sunlight, which causes massive algae blooms and overheating. Keep it away from air conditioning vents or heaters that cause temperature fluctuations. Also, ensure the floor can support the weight; a 50-gallon tank weighs approximately 500-600 pounds when filled.
4. Sturdy Stand
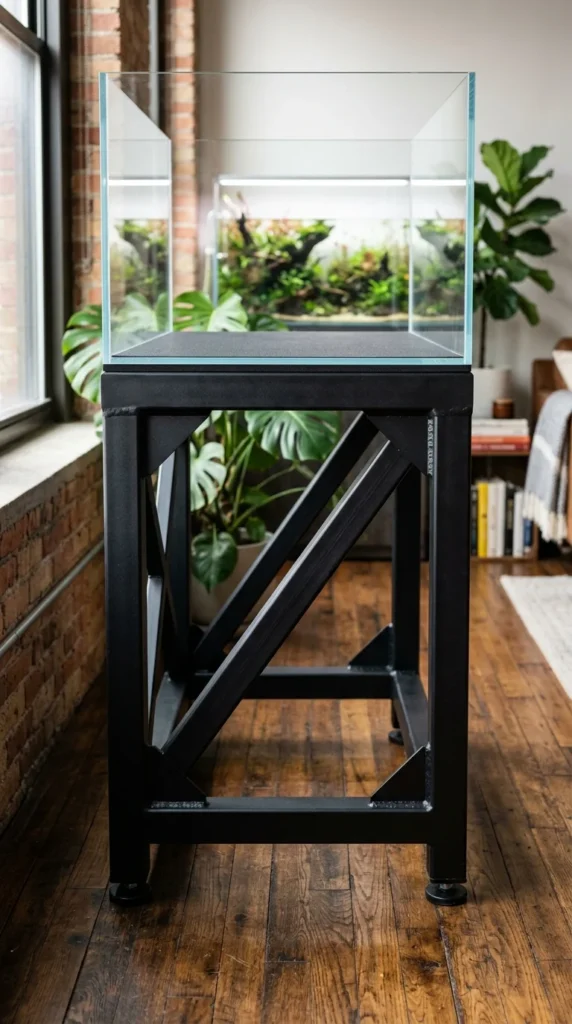
Never place a saltwater tank on a standard dresser or “hobby” desk. Saltwater is incredibly heavy and corrosive. You need a stand specifically rated for the weight of an aquarium. If the stand isn’t perfectly level, the pressure on the glass can cause a catastrophic leak or crack over time.
5. Marine Salt
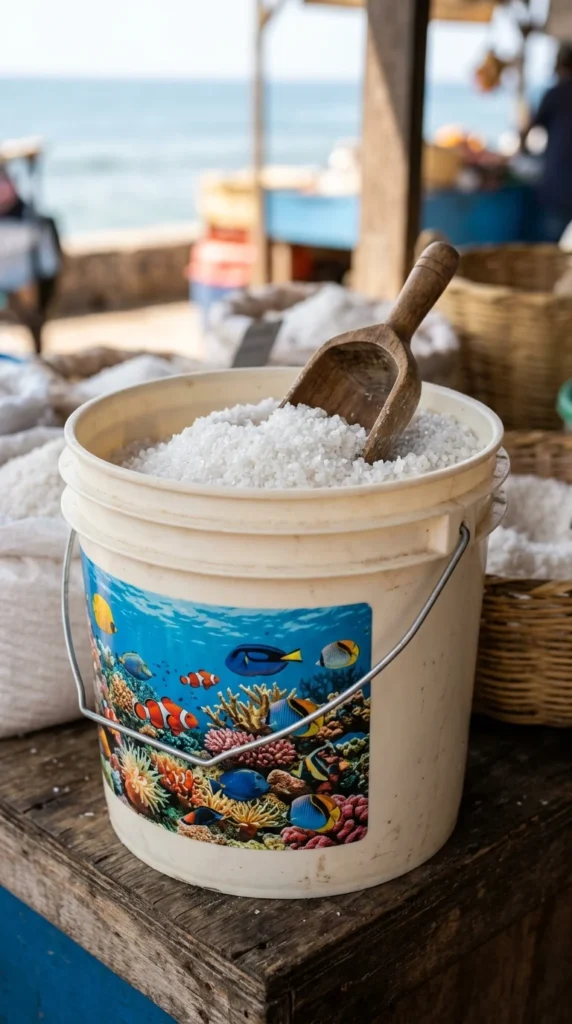
You cannot use table salt or aquarium salt meant for freshwater fish. You must use a high-quality synthetic marine salt mix. These mixes contain not just sodium chloride, but also essential trace elements like magnesium, calcium, and carbonates that marine life needs to build skeletons and maintain biological functions.
6. Hydrometer or Refractometer
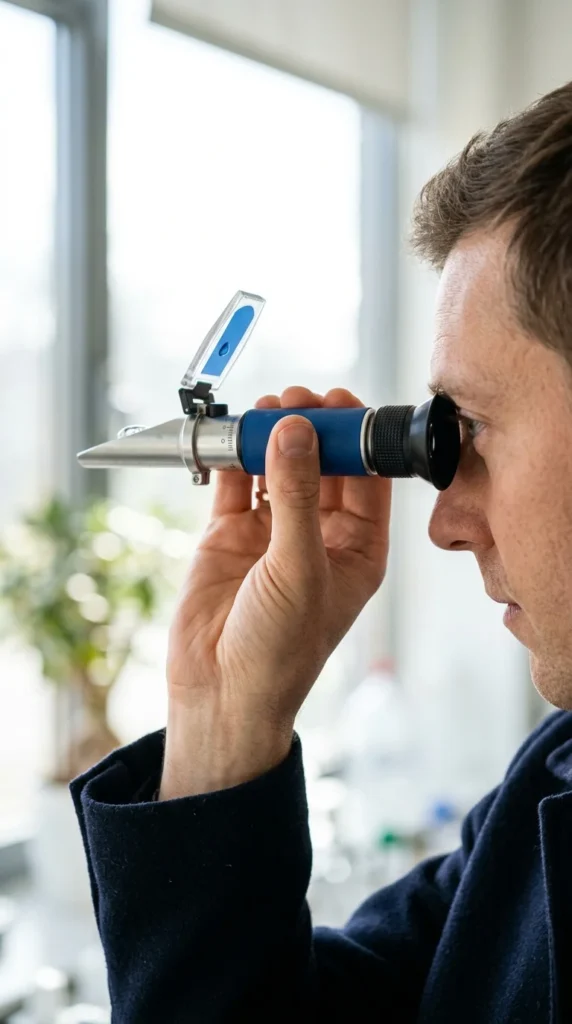
You must measure the “Specific Gravity” (salinity) of your water. While plastic hydrometers are cheap, they are often inaccurate. A refractometer is a slightly more expensive tool that uses light to give an exact reading. Most saltwater tanks should be kept at a specific gravity of 1.024 to 1.026.
7. Live Rock
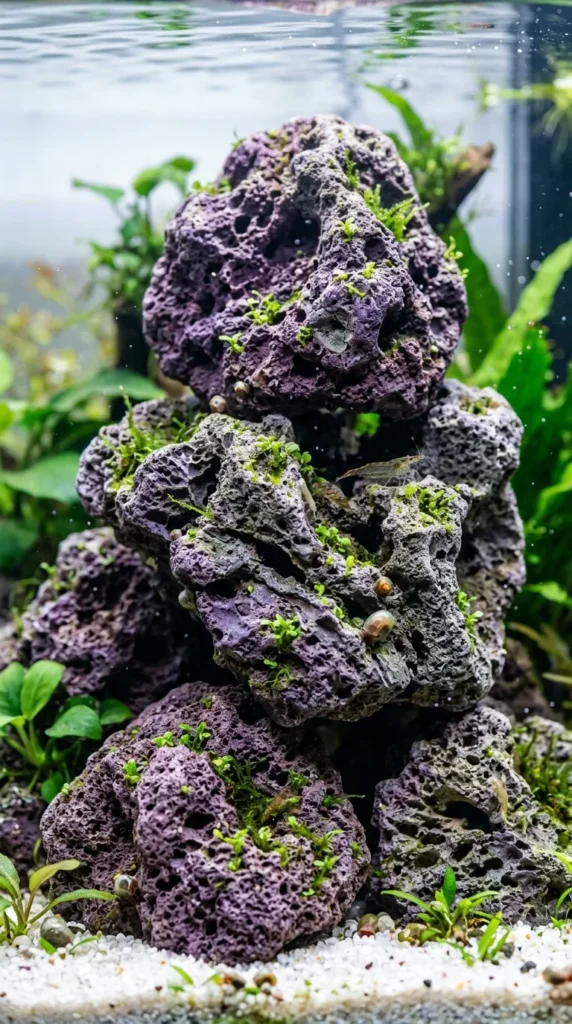
Live rock is the backbone of your biological filtration. These are rocks harvested from the ocean (or “seeded” in vats) that are teeming with beneficial bacteria. This bacteria breaks down toxic fish waste (ammonia) into less harmful substances. It also provides hiding spots for fish and a foundation for corals.
8. Proper Substrate
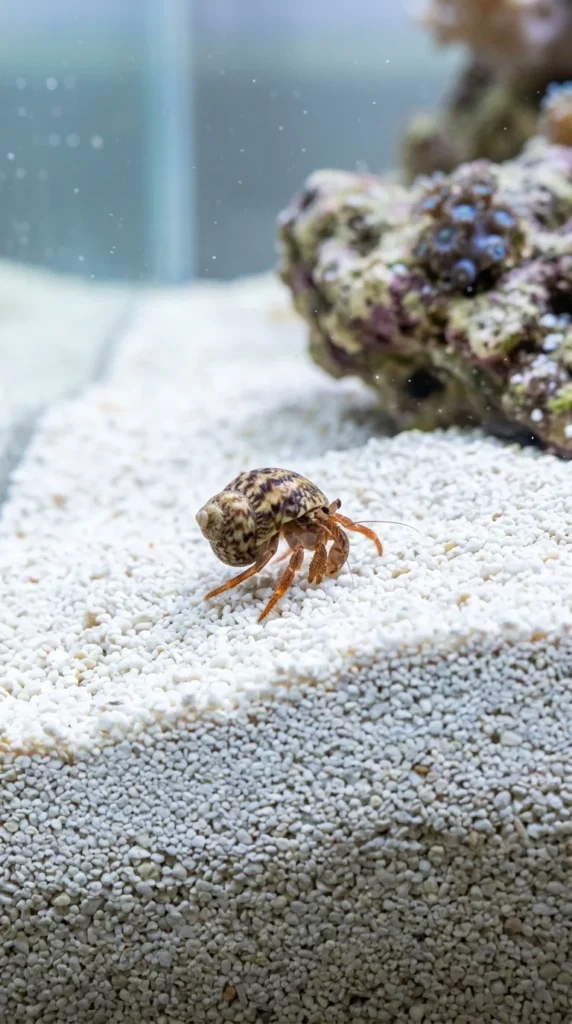
Most beginners choose aragonite sand. Unlike gravel used in freshwater, aragonite helps buffer the pH of the water, keeping it alkaline. You can choose “live sand,” which comes pre-packaged with beneficial bacteria to help speed up the cycling process of your new tank.
9. RO/DI Water
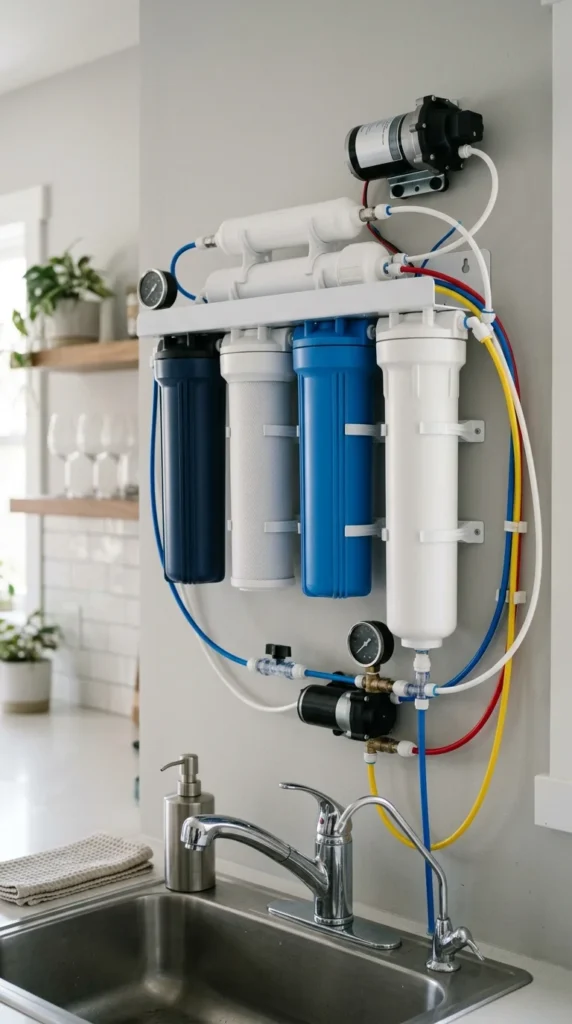
Tap water is the enemy of a saltwater tank. It contains phosphates, nitrates, chlorine, and heavy metals that fuel algae growth and can kill sensitive corals. A Reverse Osmosis/Deionization (RO/DI) system filters tap water until it is 99.9% pure. Using pure water from the start prevents 90% of common beginner headaches.
10. Nitrogen Cycle
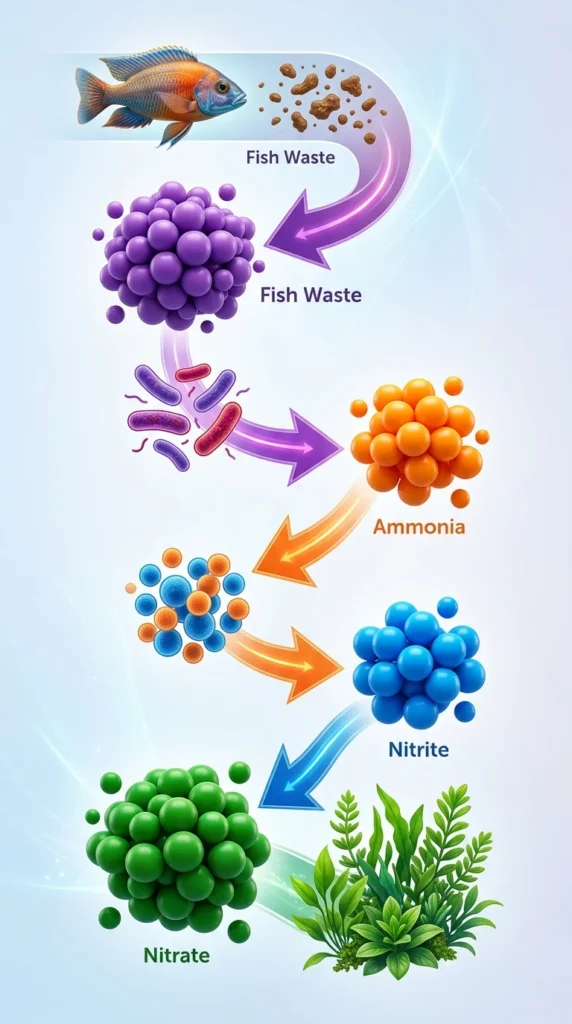
The Nitrogen Cycle is the most important biological process in your tank. When you add fish, they produce ammonia. Bacteria in your rocks must grow to eat that ammonia and turn it into nitrite, and then another set of bacteria turns nitrite into nitrate. You cannot add fish until this cycle is fully established, which usually takes 4 to 8 weeks.
11. Testing Kits
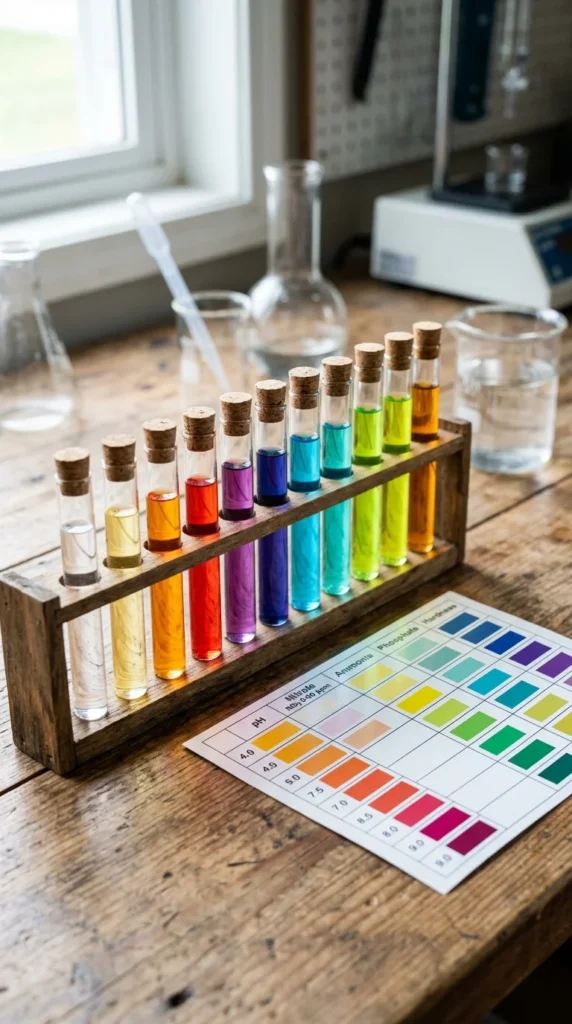
You cannot manage what you cannot measure. You need high-quality liquid test kits for Ammonia, Nitrite, Nitrate, pH, and Salinity. If you plan on keeping corals later, you will also need kits for Calcium, Alkalinity, and Magnesium. Testing weekly allows you to spot trends before they become disasters.
12. Submersible Heater
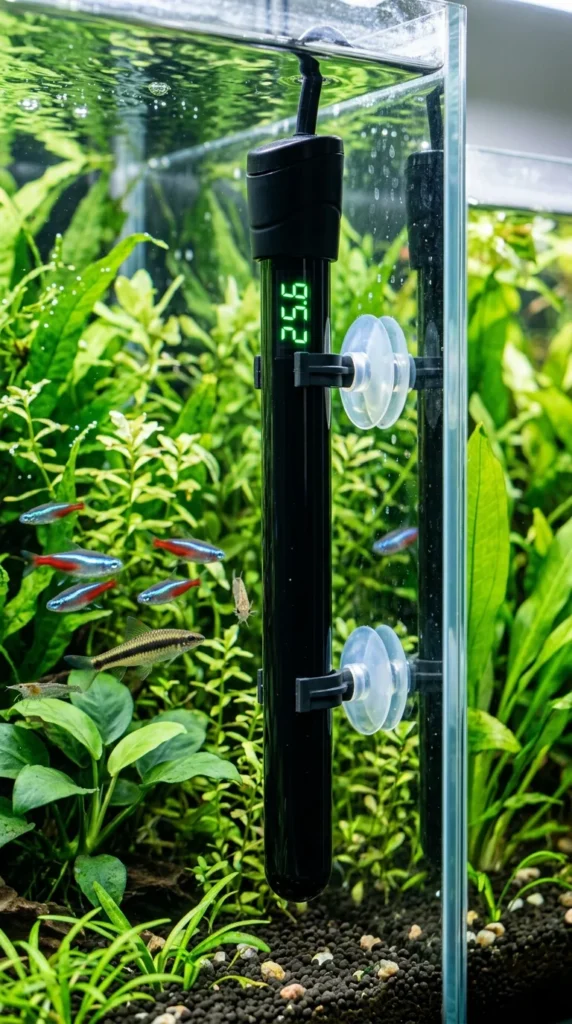
Stability is the name of the game. Most tropical marine fish require a steady temperature between 75°F and 80°F. A high-quality heater with a built-in thermostat is essential. Many hobbyists use two smaller heaters instead of one large one; if one gets stuck “on,” it won’t cook the fish as quickly.
13. Digital Thermometer
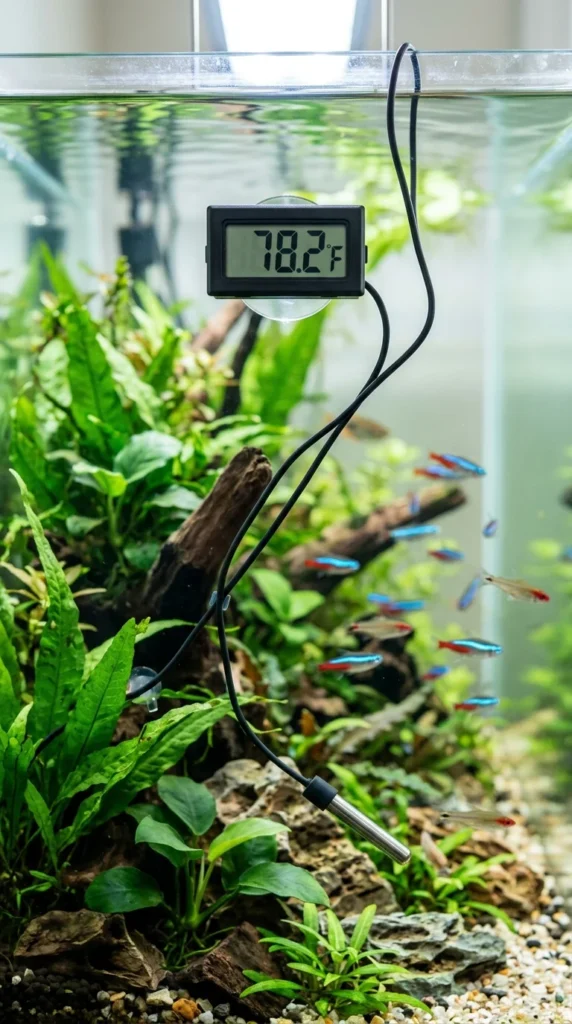
Never rely solely on the dial of your heater. Heaters are notorious for being slightly off. A separate digital thermometer or a traditional glass floating thermometer provides a second opinion to ensure your water temperature isn’t drifting into the danger zone.
14. Protein Skimmer
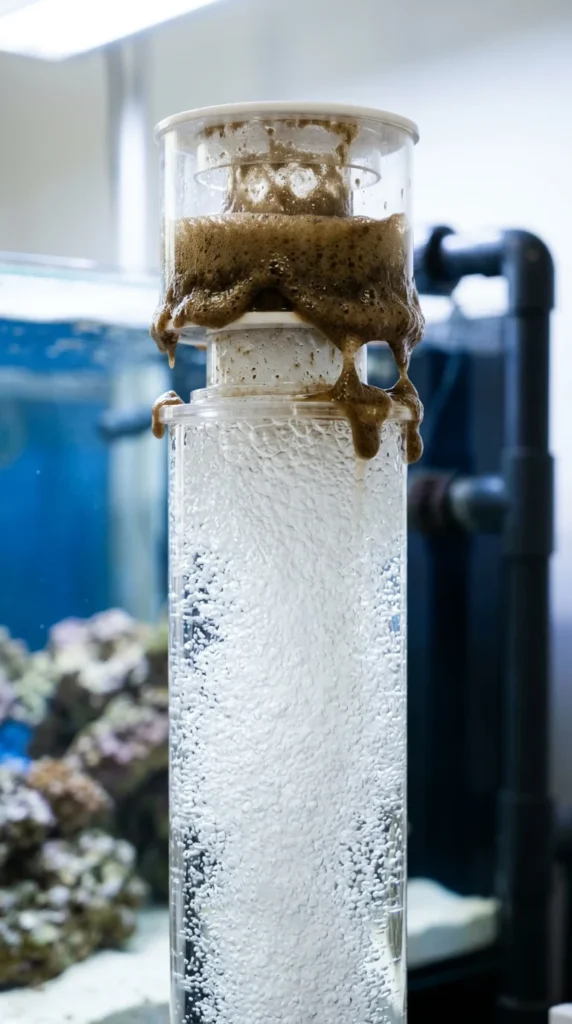
While not strictly required for very small tanks with frequent water changes, a protein skimmer is a lifesaver for beginners. It uses millions of tiny bubbles to “scrub” the water, removing organic waste before it even has a chance to break down into toxic nitrates and phosphates.
15. Powerheads

The ocean is never still. To keep your fish healthy and your corals fed, you need “flow.” Powerheads circulate water, ensuring there are no “dead spots” where waste can collect and rot. High flow also helps with gas exchange at the surface, increasing the oxygen levels in the water.
16. Lighting Systems
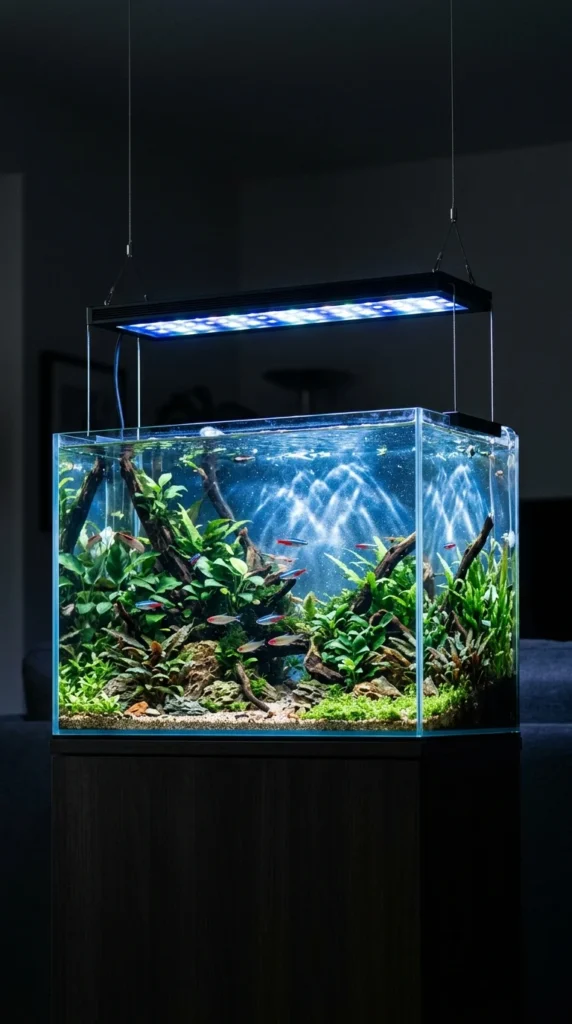
If you only have fish, basic lighting is fine. But if you want corals, you need specialized Reef-Ready LED or T5 lighting. Corals are photosynthetic organisms that rely on specific light spectrums (mostly blue) to survive. Investing in a good light from the start saves you from buying two lights later.
17. The Sump
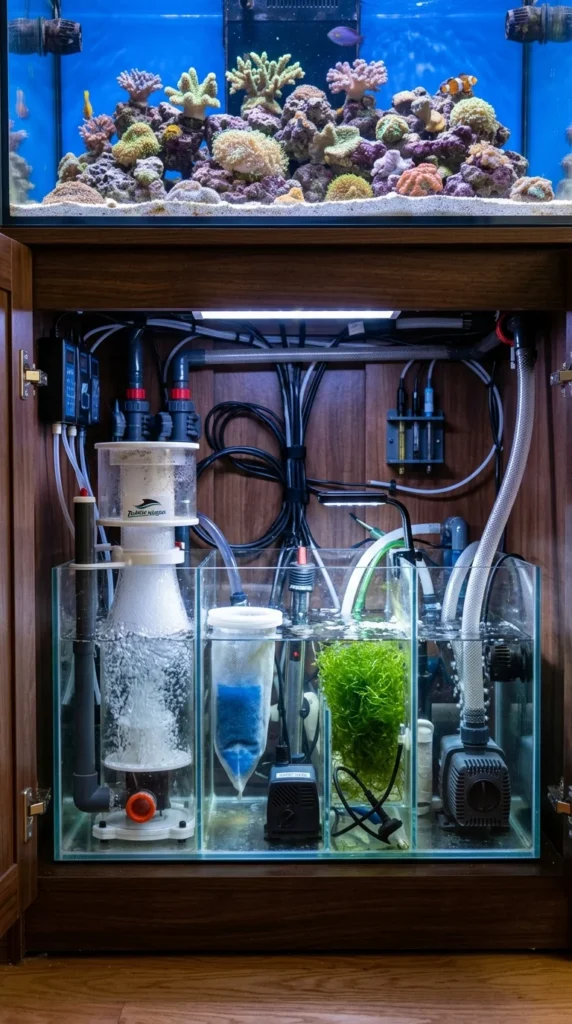
A sump is a secondary tank hidden underneath the main display. It increases your total water volume (adding stability), provides a place to hide ugly equipment like heaters and skimmers, and acts as a filter. While it adds complexity to the plumbing, it makes maintaining the tank much easier in the long run.
18. Mechanical Filtration

Mechanical filtration involves physically removing particles from the water. This is usually done via filter socks, sponges, or floss. This material needs to be cleaned or replaced at least once a week. If you leave trapped debris in the filter, it will rot and spike your nitrate levels.
19. Fish Selection
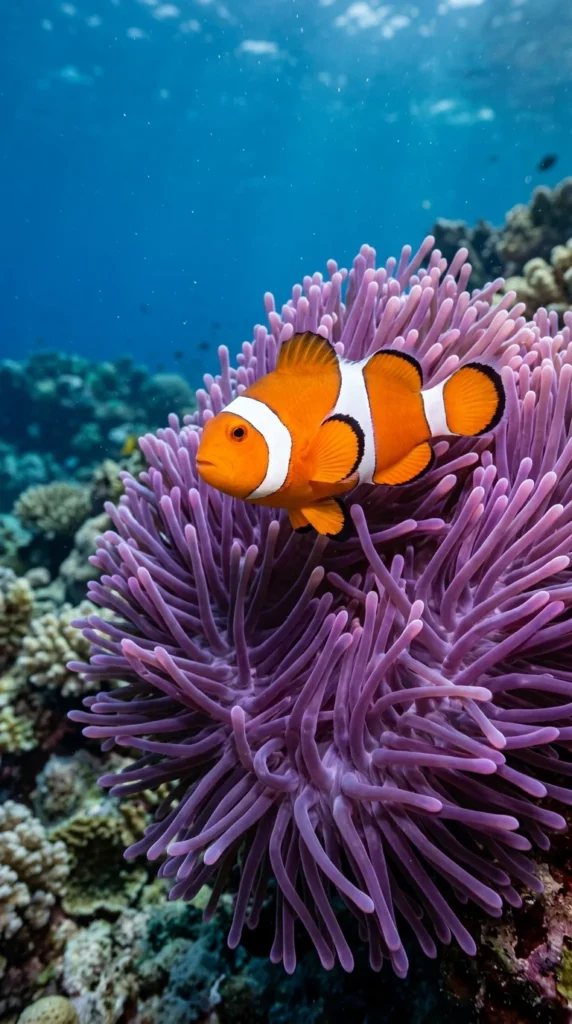
Start with “hardy” fish. Species like Ocellaris Clownfish, Firefish, and certain Damselfish are much more forgiving of beginner mistakes than sensitive species like Tangs or Copperband Butterflyfish. Always check the adult size and temperament of a fish before bringing it home.
20. Drip Acclimation
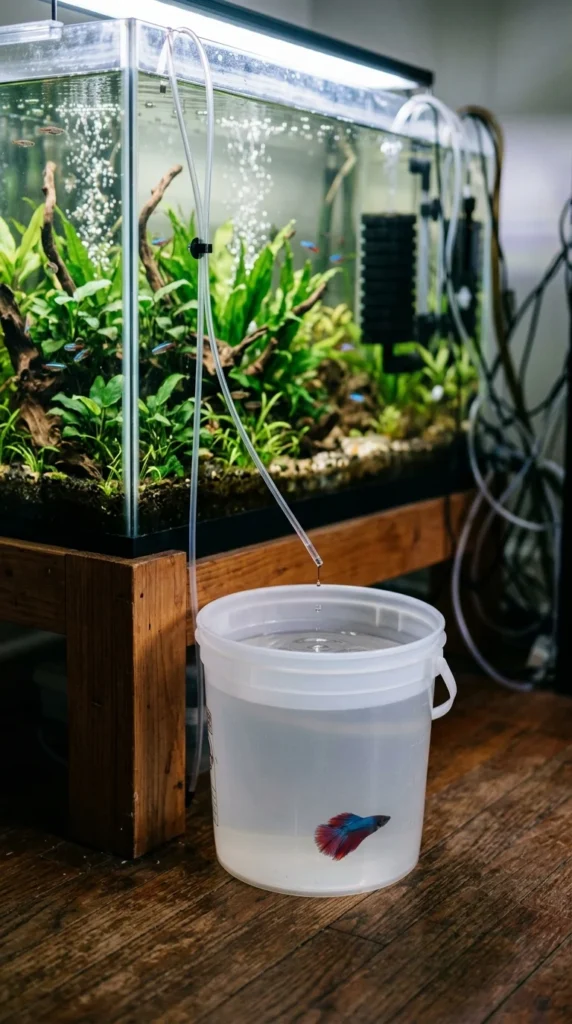
You cannot just “flop and drop” saltwater fish. The difference in pH and salinity between the store’s water and yours can cause osmotic shock. Using a drip acclimation kit to slowly mix your tank water into the shipping bag over 30–60 minutes allows the fish to adjust safely.
21. Quarantine Tank

Disease is common in the wild-caught fish trade. A quarantine (QT) tank is a separate, simple setup where you keep new fish for 2-4 weeks to observe them for parasites like Marine Ich. It is much easier to treat a fish in a small QT tank than it is to treat an entire 100-gallon display tank.
22. Feeding Habits
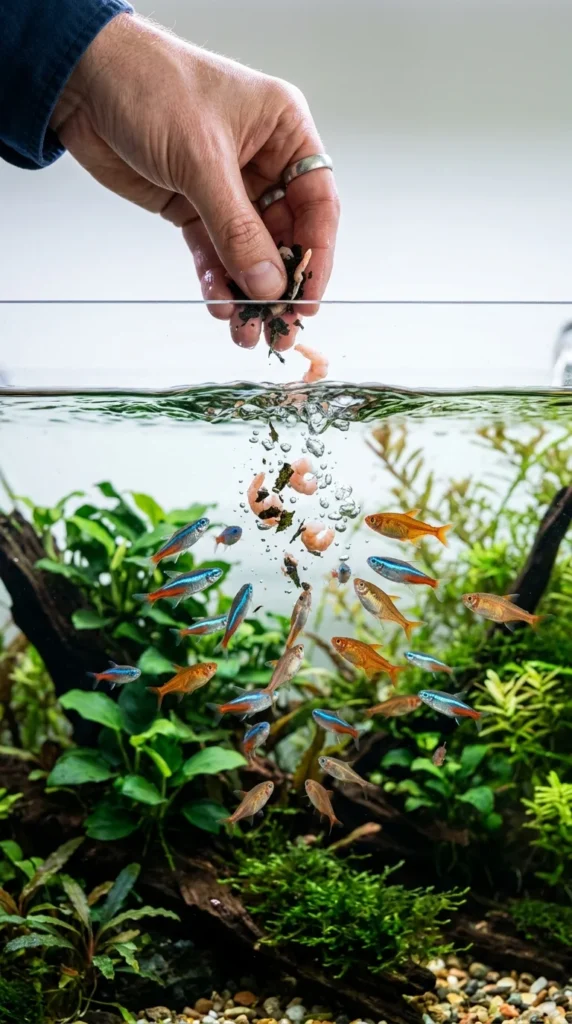
Overfeeding is the #1 cause of tank failure for beginners. Excess food rots and causes massive algae outbreaks. Feed only what the fish can consume in two minutes. Using high-quality frozen foods (like mysis shrimp) is generally better for the fish’s health than cheap flakes or pellets.
23. Water Changes
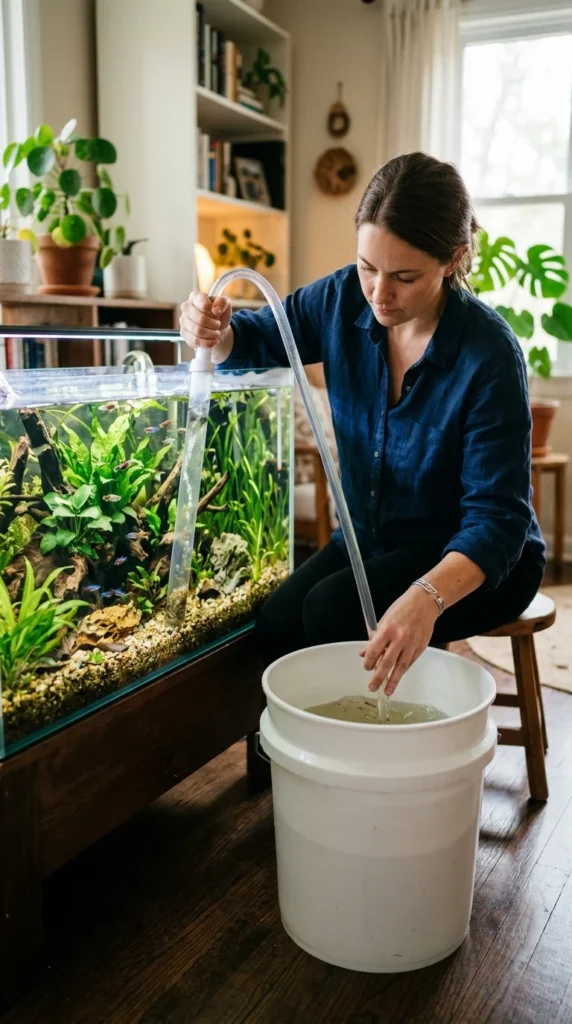
Even with the best filters, you must perform regular water changes. Usually, 10% to 15% of the total volume every two weeks is recommended. This removes accumulated nitrates and replenishes the trace elements that your fish and corals have used up.
24. Algae Management
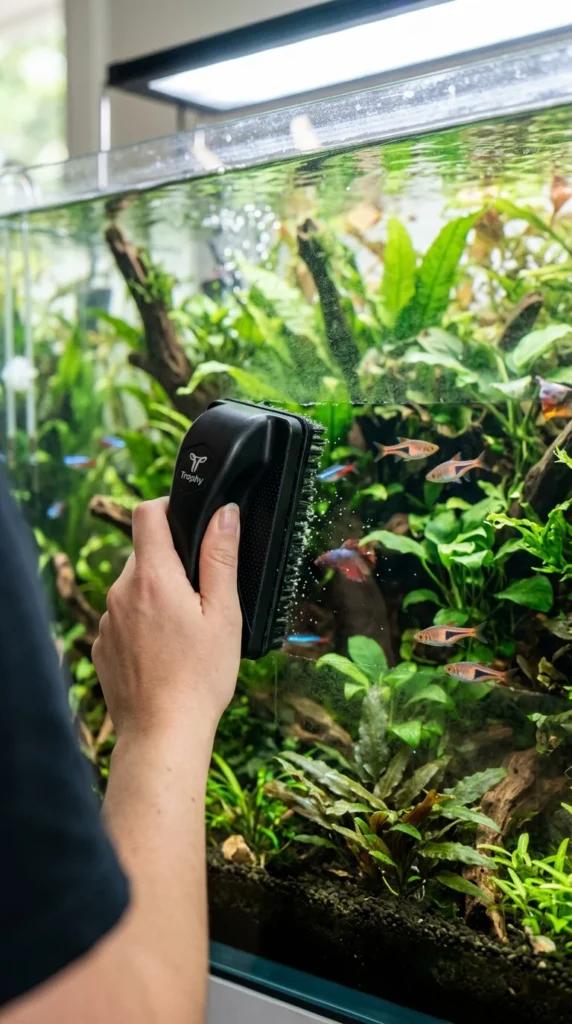
Algae is a natural part of the ecosystem, but it can quickly get out of control. A “Clean Up Crew” (CUC) consisting of snails and hermit crabs will help eat algae. You should also use a magnetic glass scraper to keep the viewing panes clear so you can enjoy your inhabitants.
25. Evaporation and Top-Offs
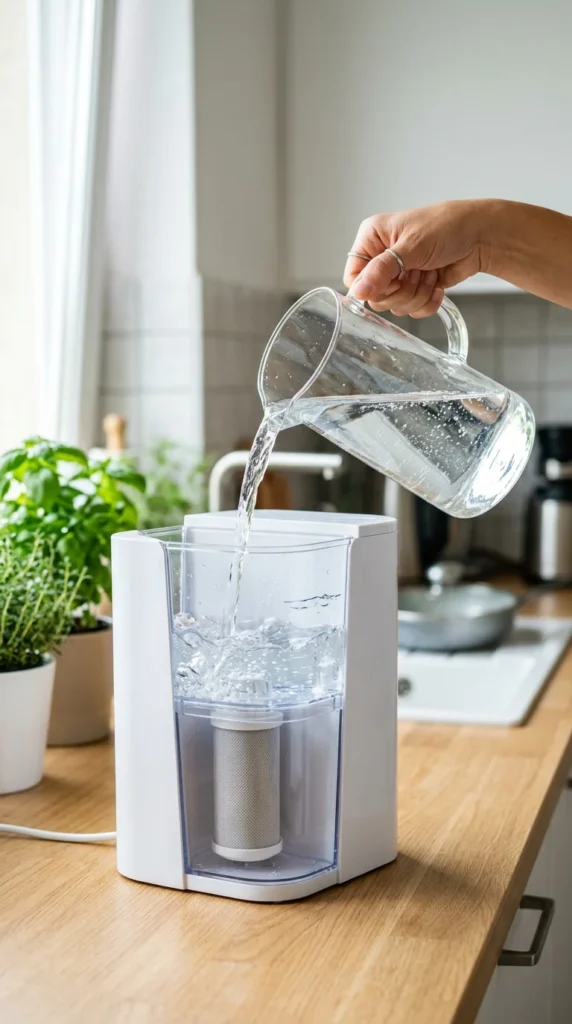
When water evaporates from your tank, the salt stays behind. This means the water left in the tank becomes increasingly salty (higher salinity). You must “top off” the tank daily with fresh RO/DI water (never saltwater!) to maintain the correct salinity levels.
26. Ultimate Patience

The most important “equipment” you can have is patience. Nothing good happens quickly in a saltwater tank; only bad things happen fast. Allow your tank to cycle fully, add fish slowly (one or two at a time), and let the ecosystem find its balance. If you rush the process, the biology will crash. Take it slow, and your reef will reward you for years to come.